4. Examples
All examples included in our library can be found here: Examples for Inkplate After you download inkplate Arduino library you will have all examples inside Arduino IDE. There are comments in all examples that describe how it works and what hardware you need.
4.1. Basic Inkplate Functionality
4.1.1. Inkplate_Basic_BW
This example shows basic Inkplate functionalities in black and white mode (writing text, drawing shapes and images).
4.1.2. Inkplate_Basic_Gray
This example shows basic Inkplate functionalities in gray mode (writing text, drawing shapes and images).
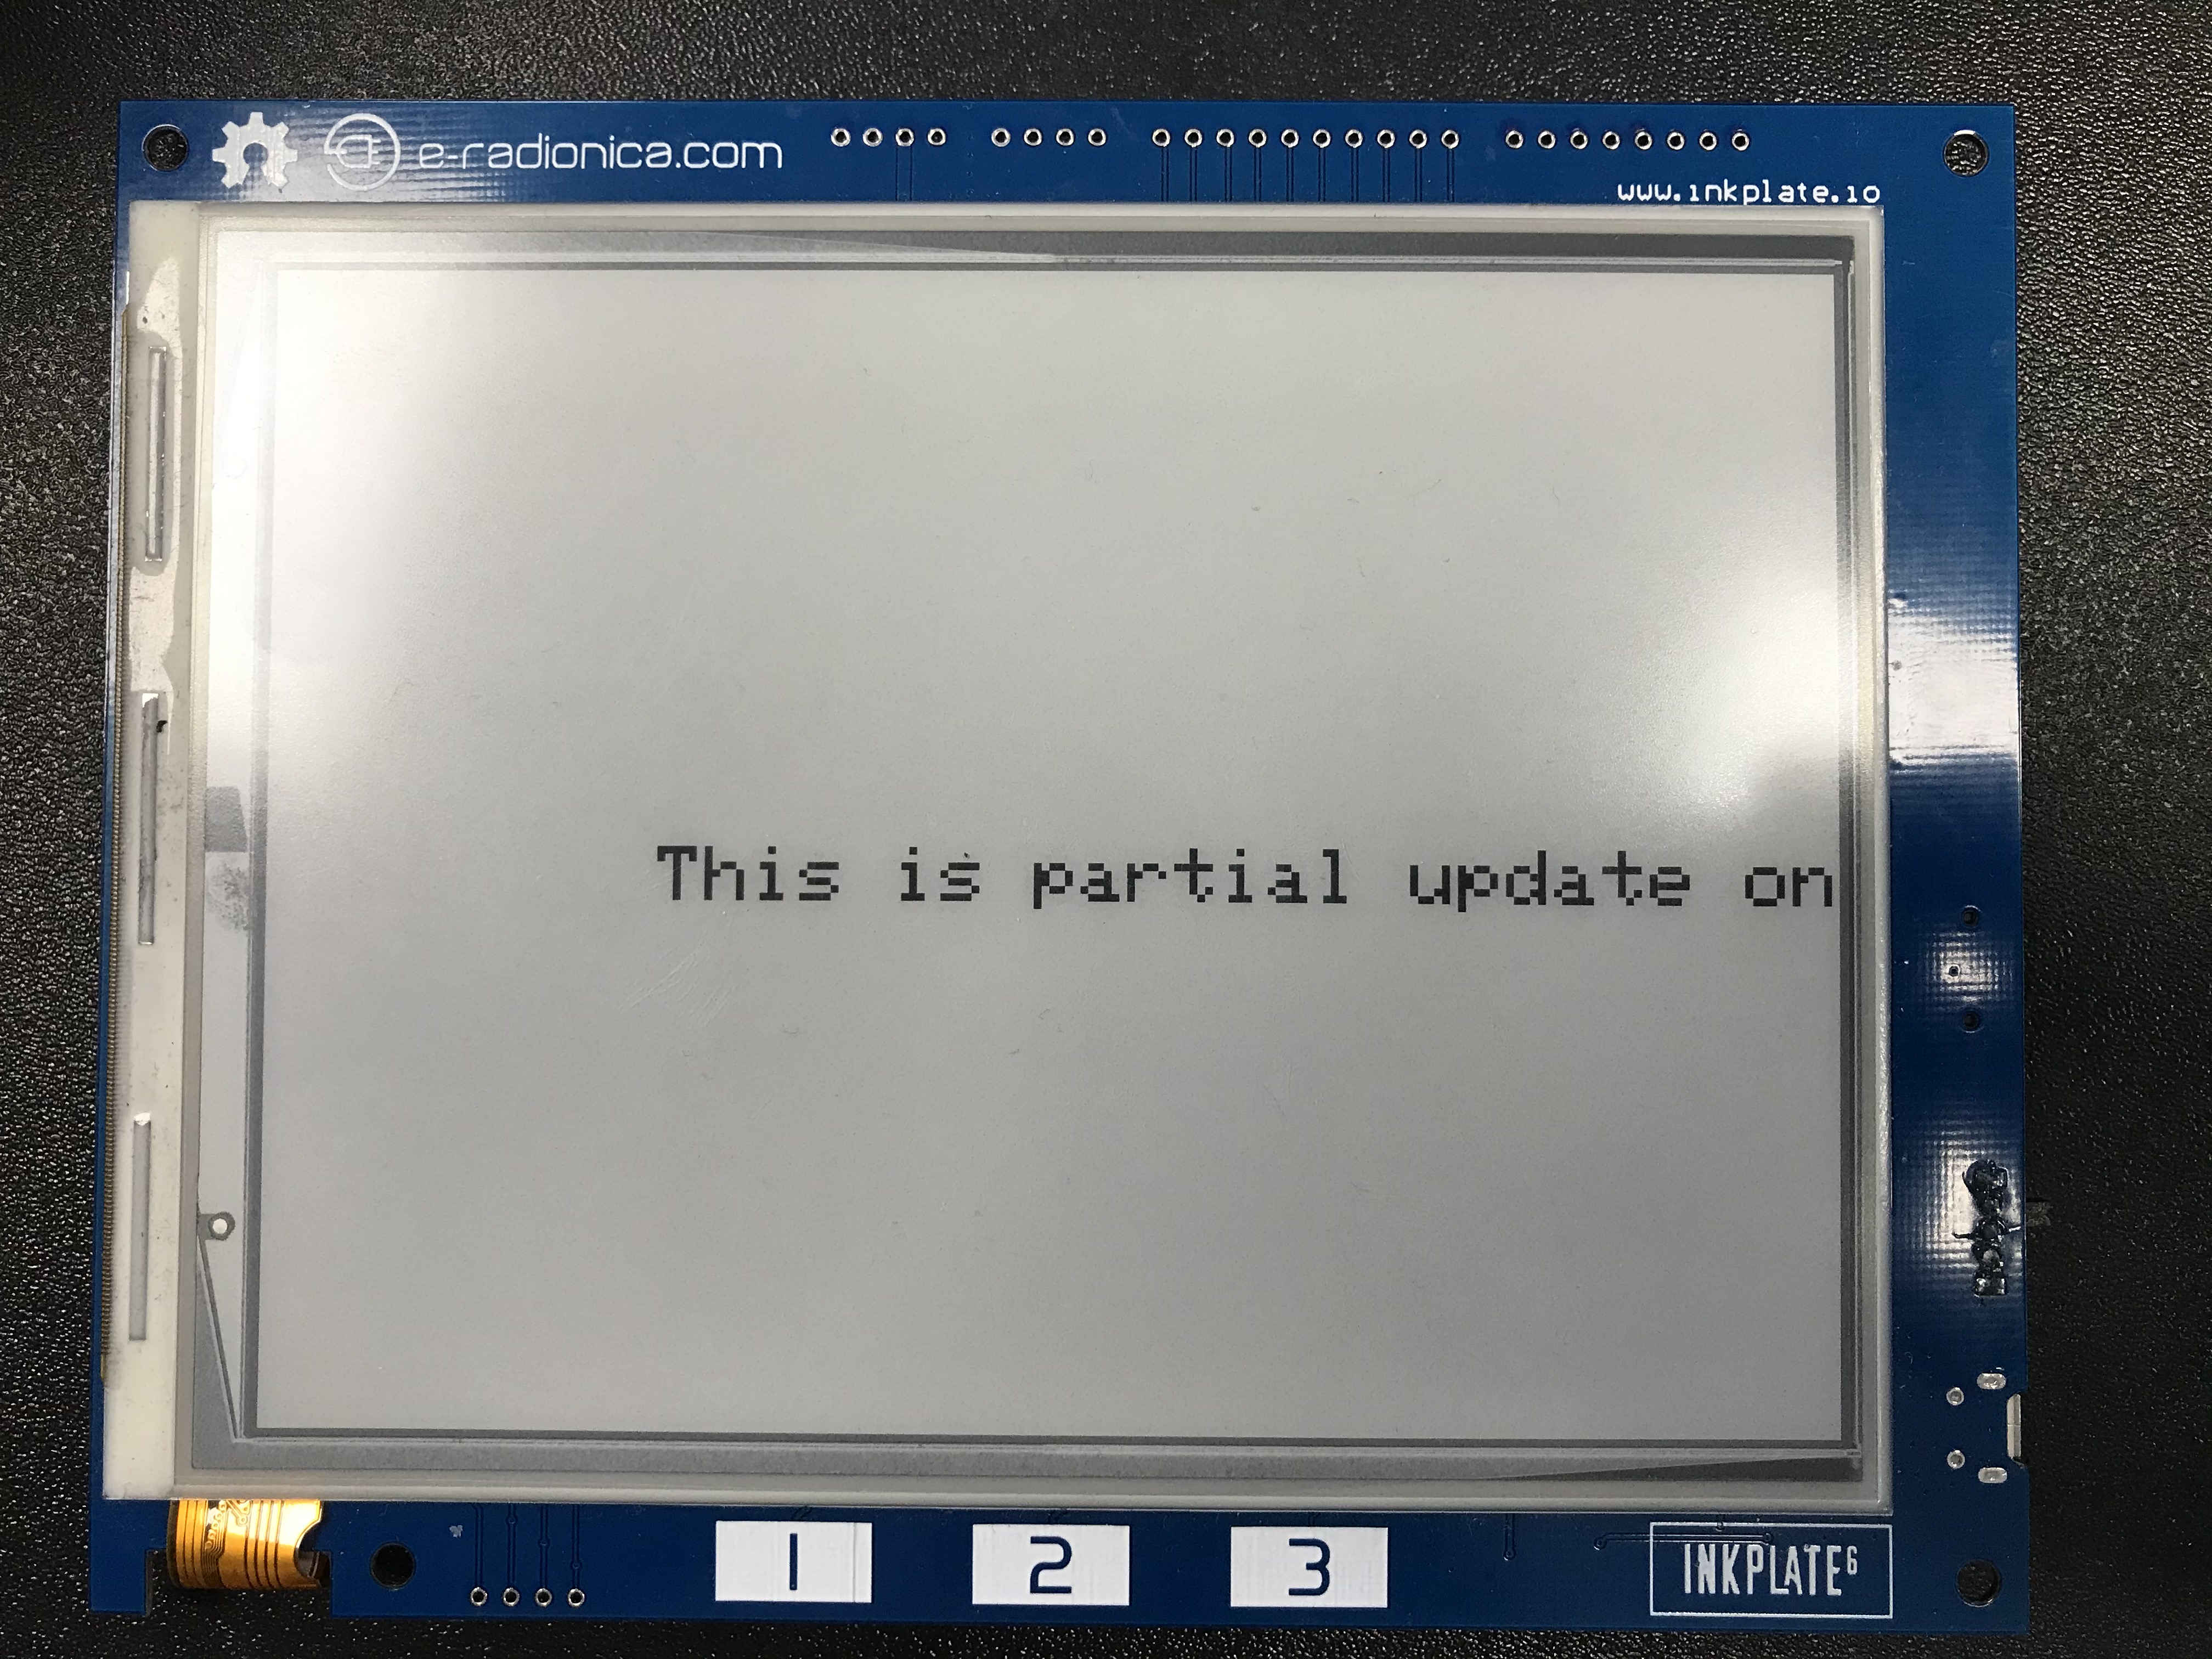
4.1.3. Inkplate_Basic_Partial_Update
This example shows how to properly use partial update on Inkplate.
4.2. Advanced Inkplate Features
4.2.1. Inkplate_Battery_Voltage_Temperature
For this example you will need a Lithium battery (3.6V) with two pin JST connector. This example will show you how to read voltage of the battery and read temperature from on-board temperature sensor which is part of TPS65186 e-paper PMIC. NOTE: In order to read temperature, e-paper has to be refreshed at least one time

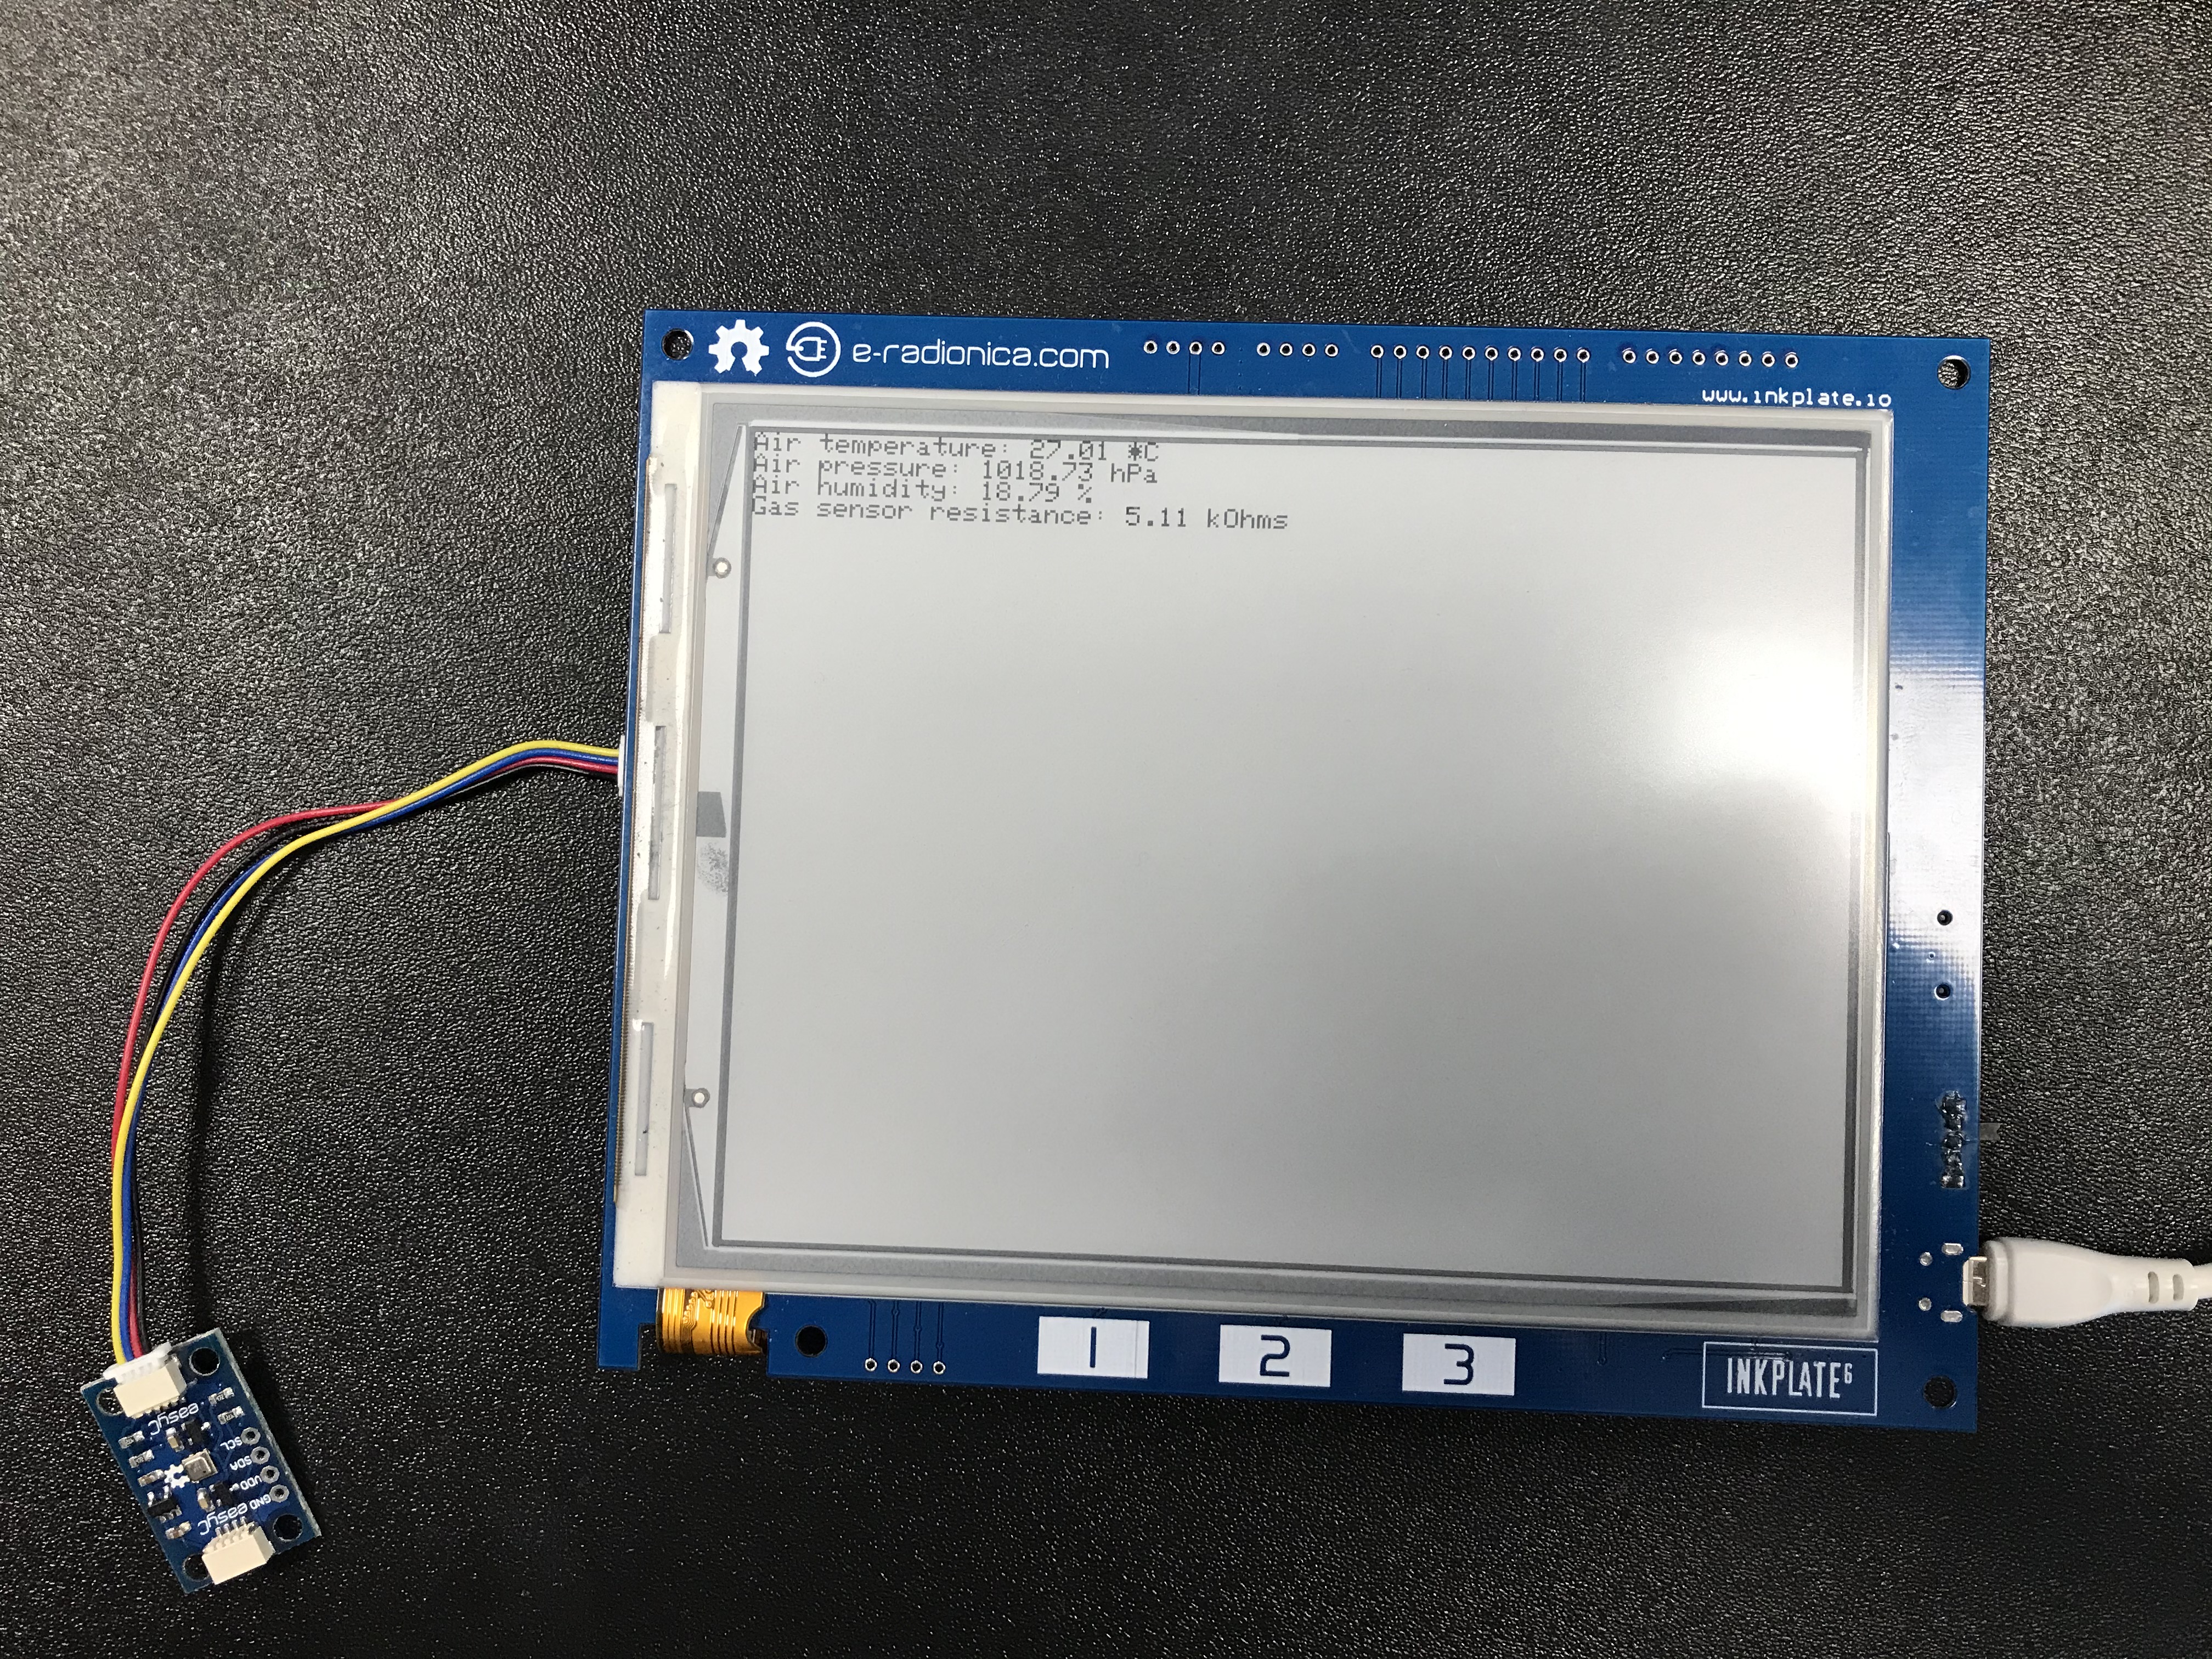
4.2.2. Inkplate_EasyC
For this example you will need a micro USB cable, Inkplate, BME680 sensor with easyC connector on it. This example will show you how you can read temperature, humidity, air pressure and gas data from BME680.
4.2.3. Inkplate_Low_Power
For this example you will need USB cable and Inkplate. This example will show you how you can use low power functionality of Inkplate board. In deep sleep, whole board will consume about 25uA from battery. Inkplate will wake every 20 seconds change content on screen.
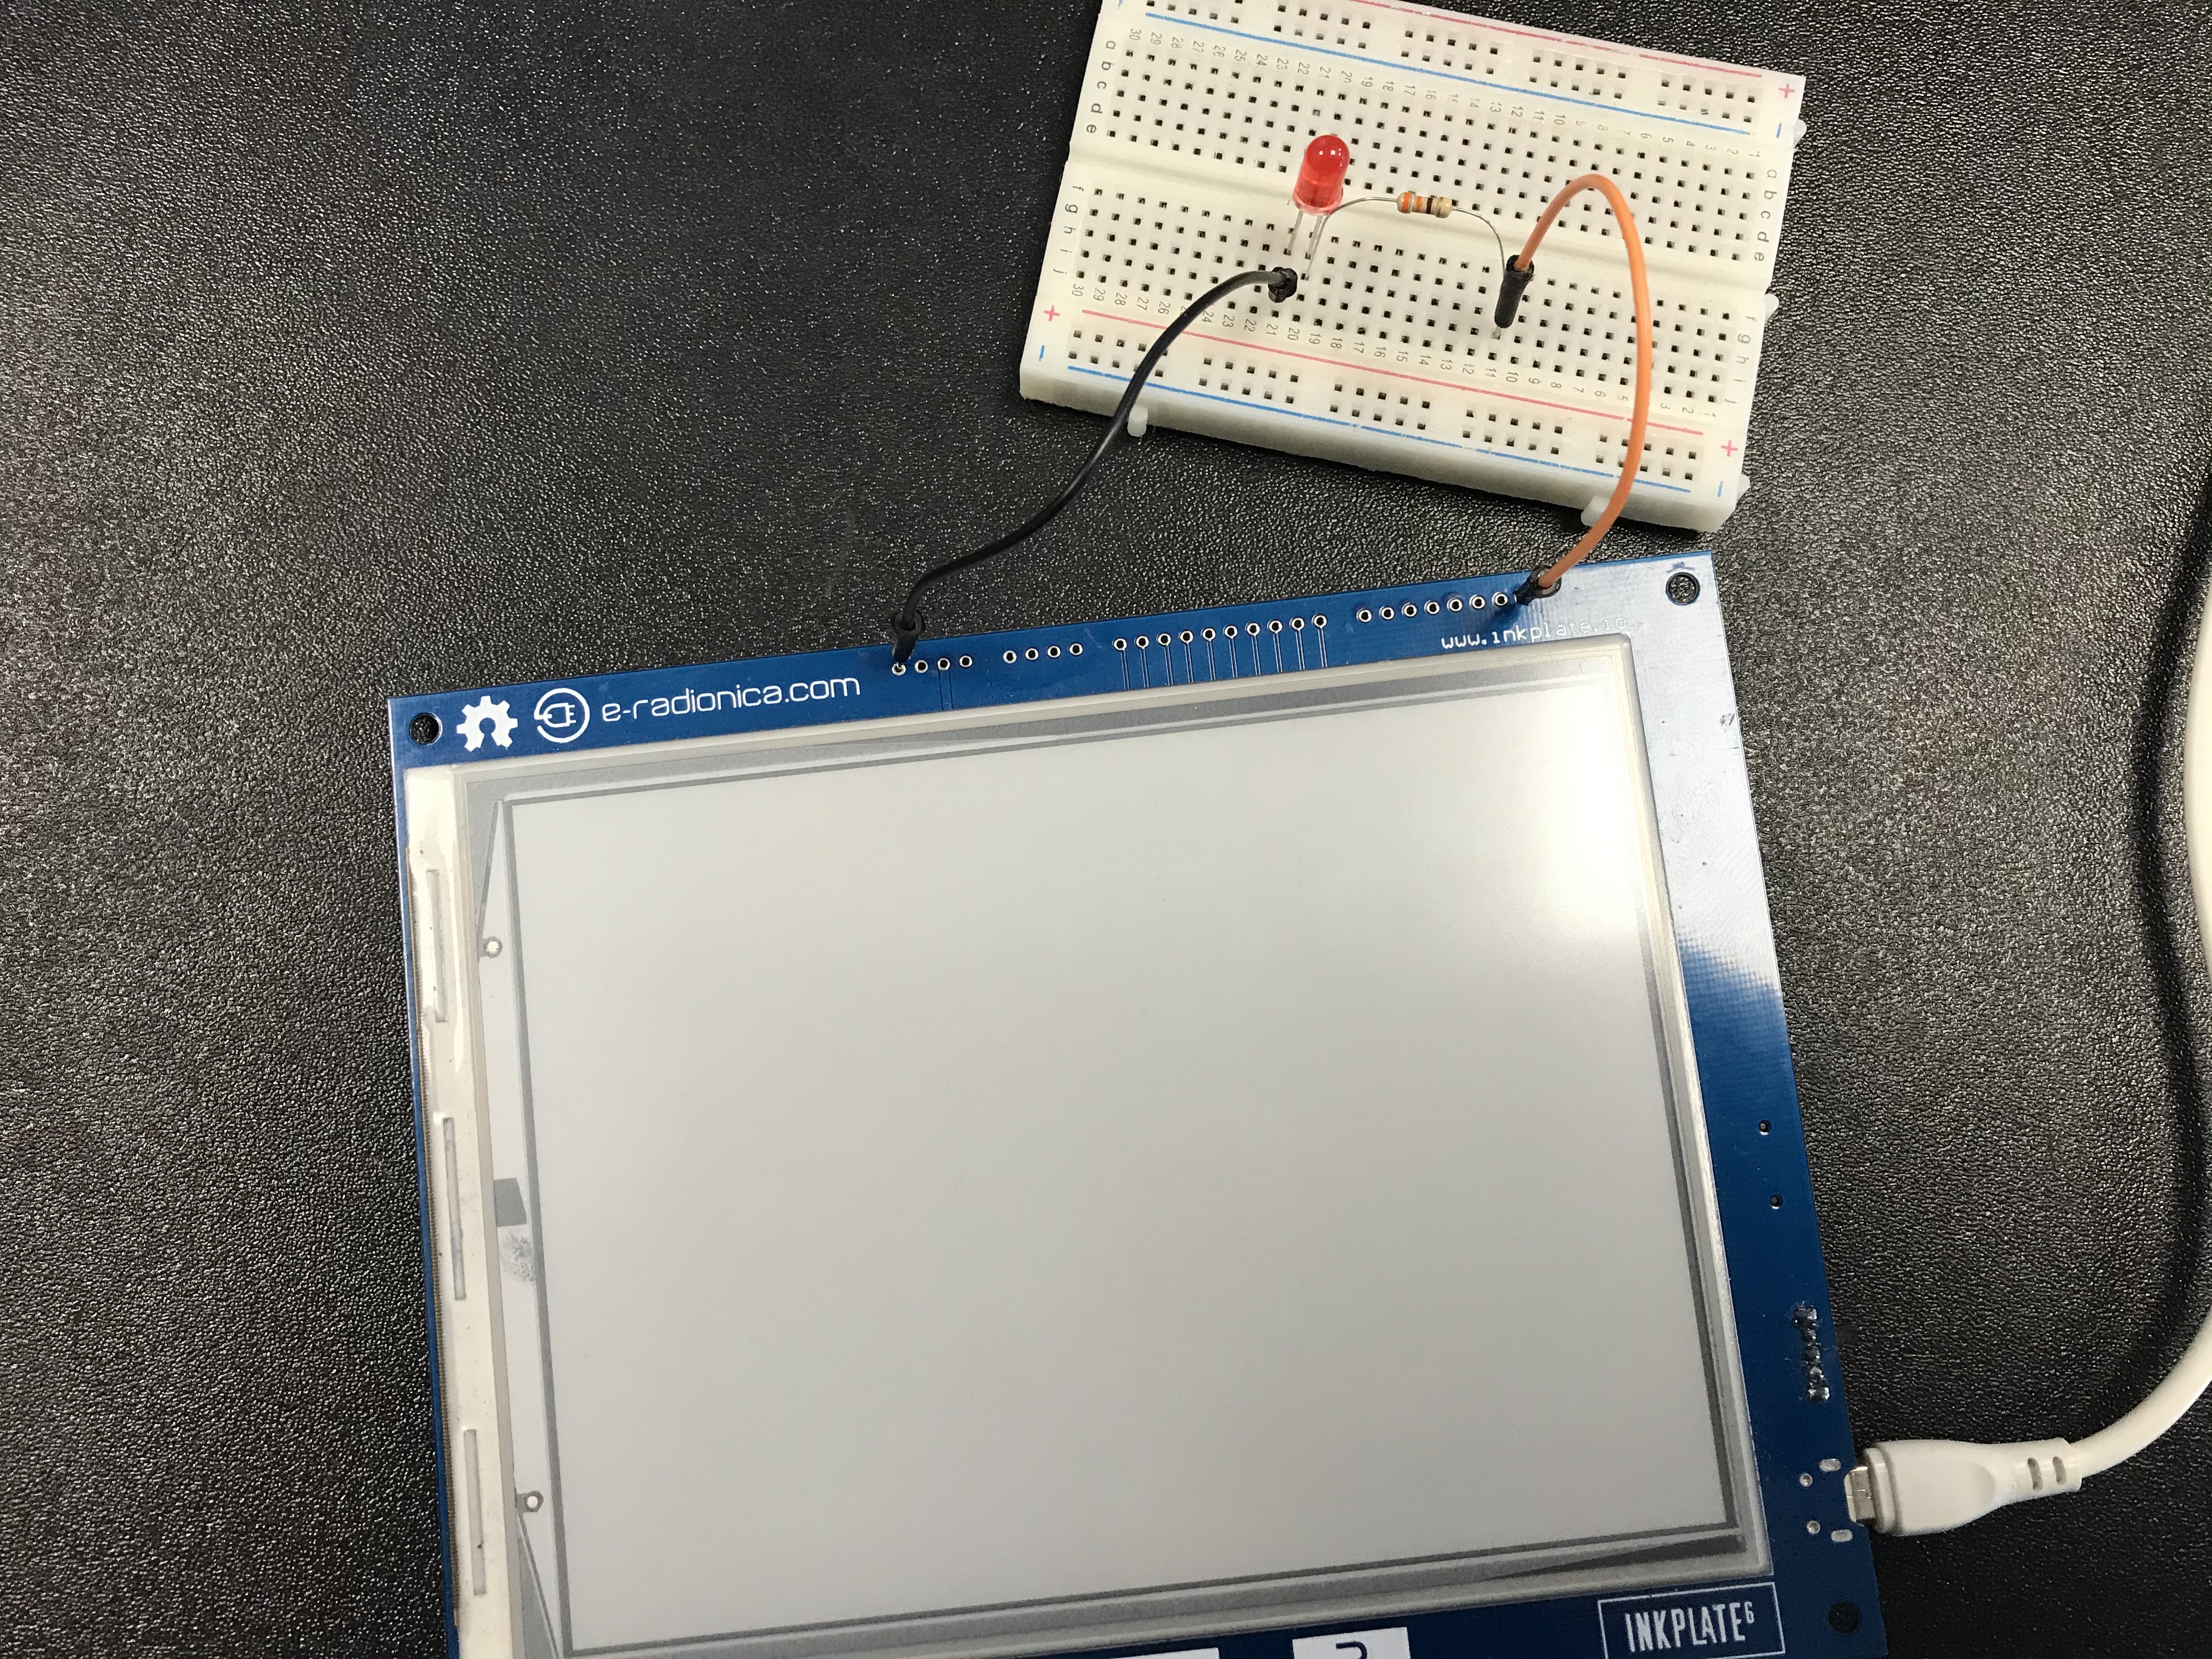
4.2.4. Inkplate_MCP23017_Expander
For this example you will need only a micro USB cable, Inkplate, 330 Ohm resistor and LED diode. This example will show you how you can manipulate with I/Os of MCP23017 Expander. You can only manipulate with Port B of MCP23017 (GPB1-GPB7). Port A is used for epaper panel and TPS65186 PMIC. GPB0 is used for ESP32 GPIO0 so you can’t use it either.
4.2.5. Inkplate_Partial_Update_With_Deep_Sleep
In this example we will show how to use partial update of epaper screen with deep sleep functionality of ESP32.

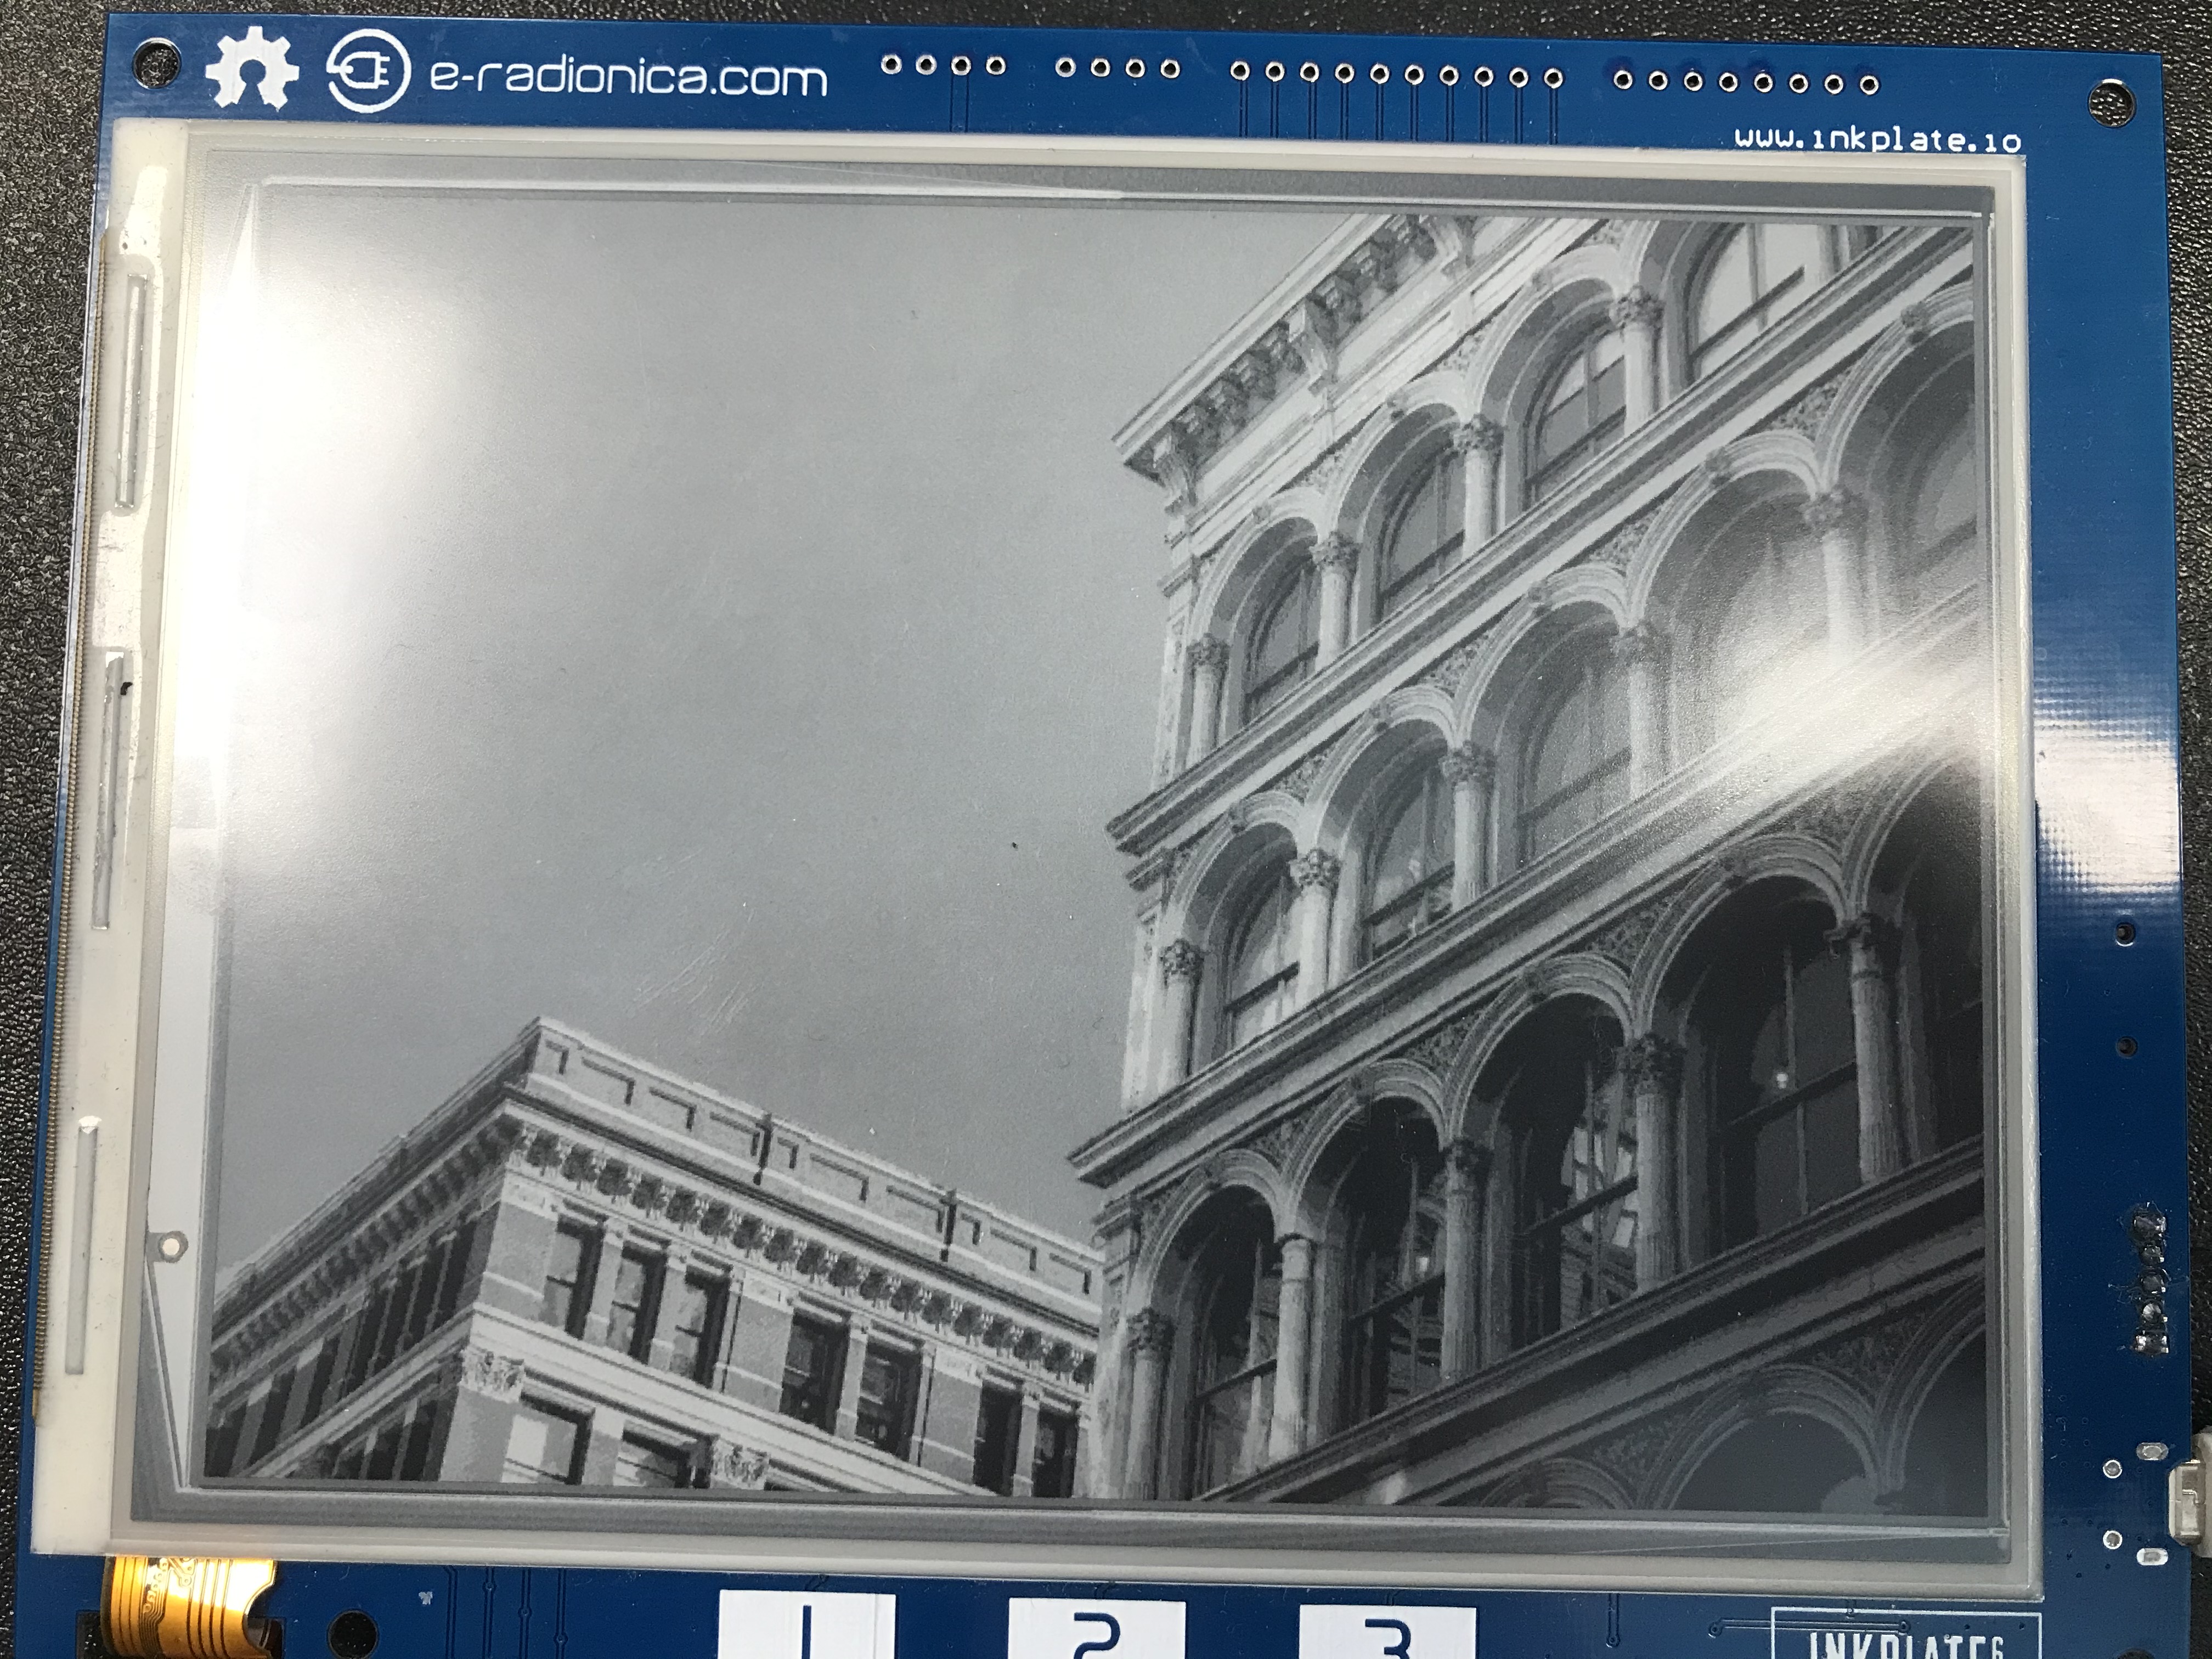
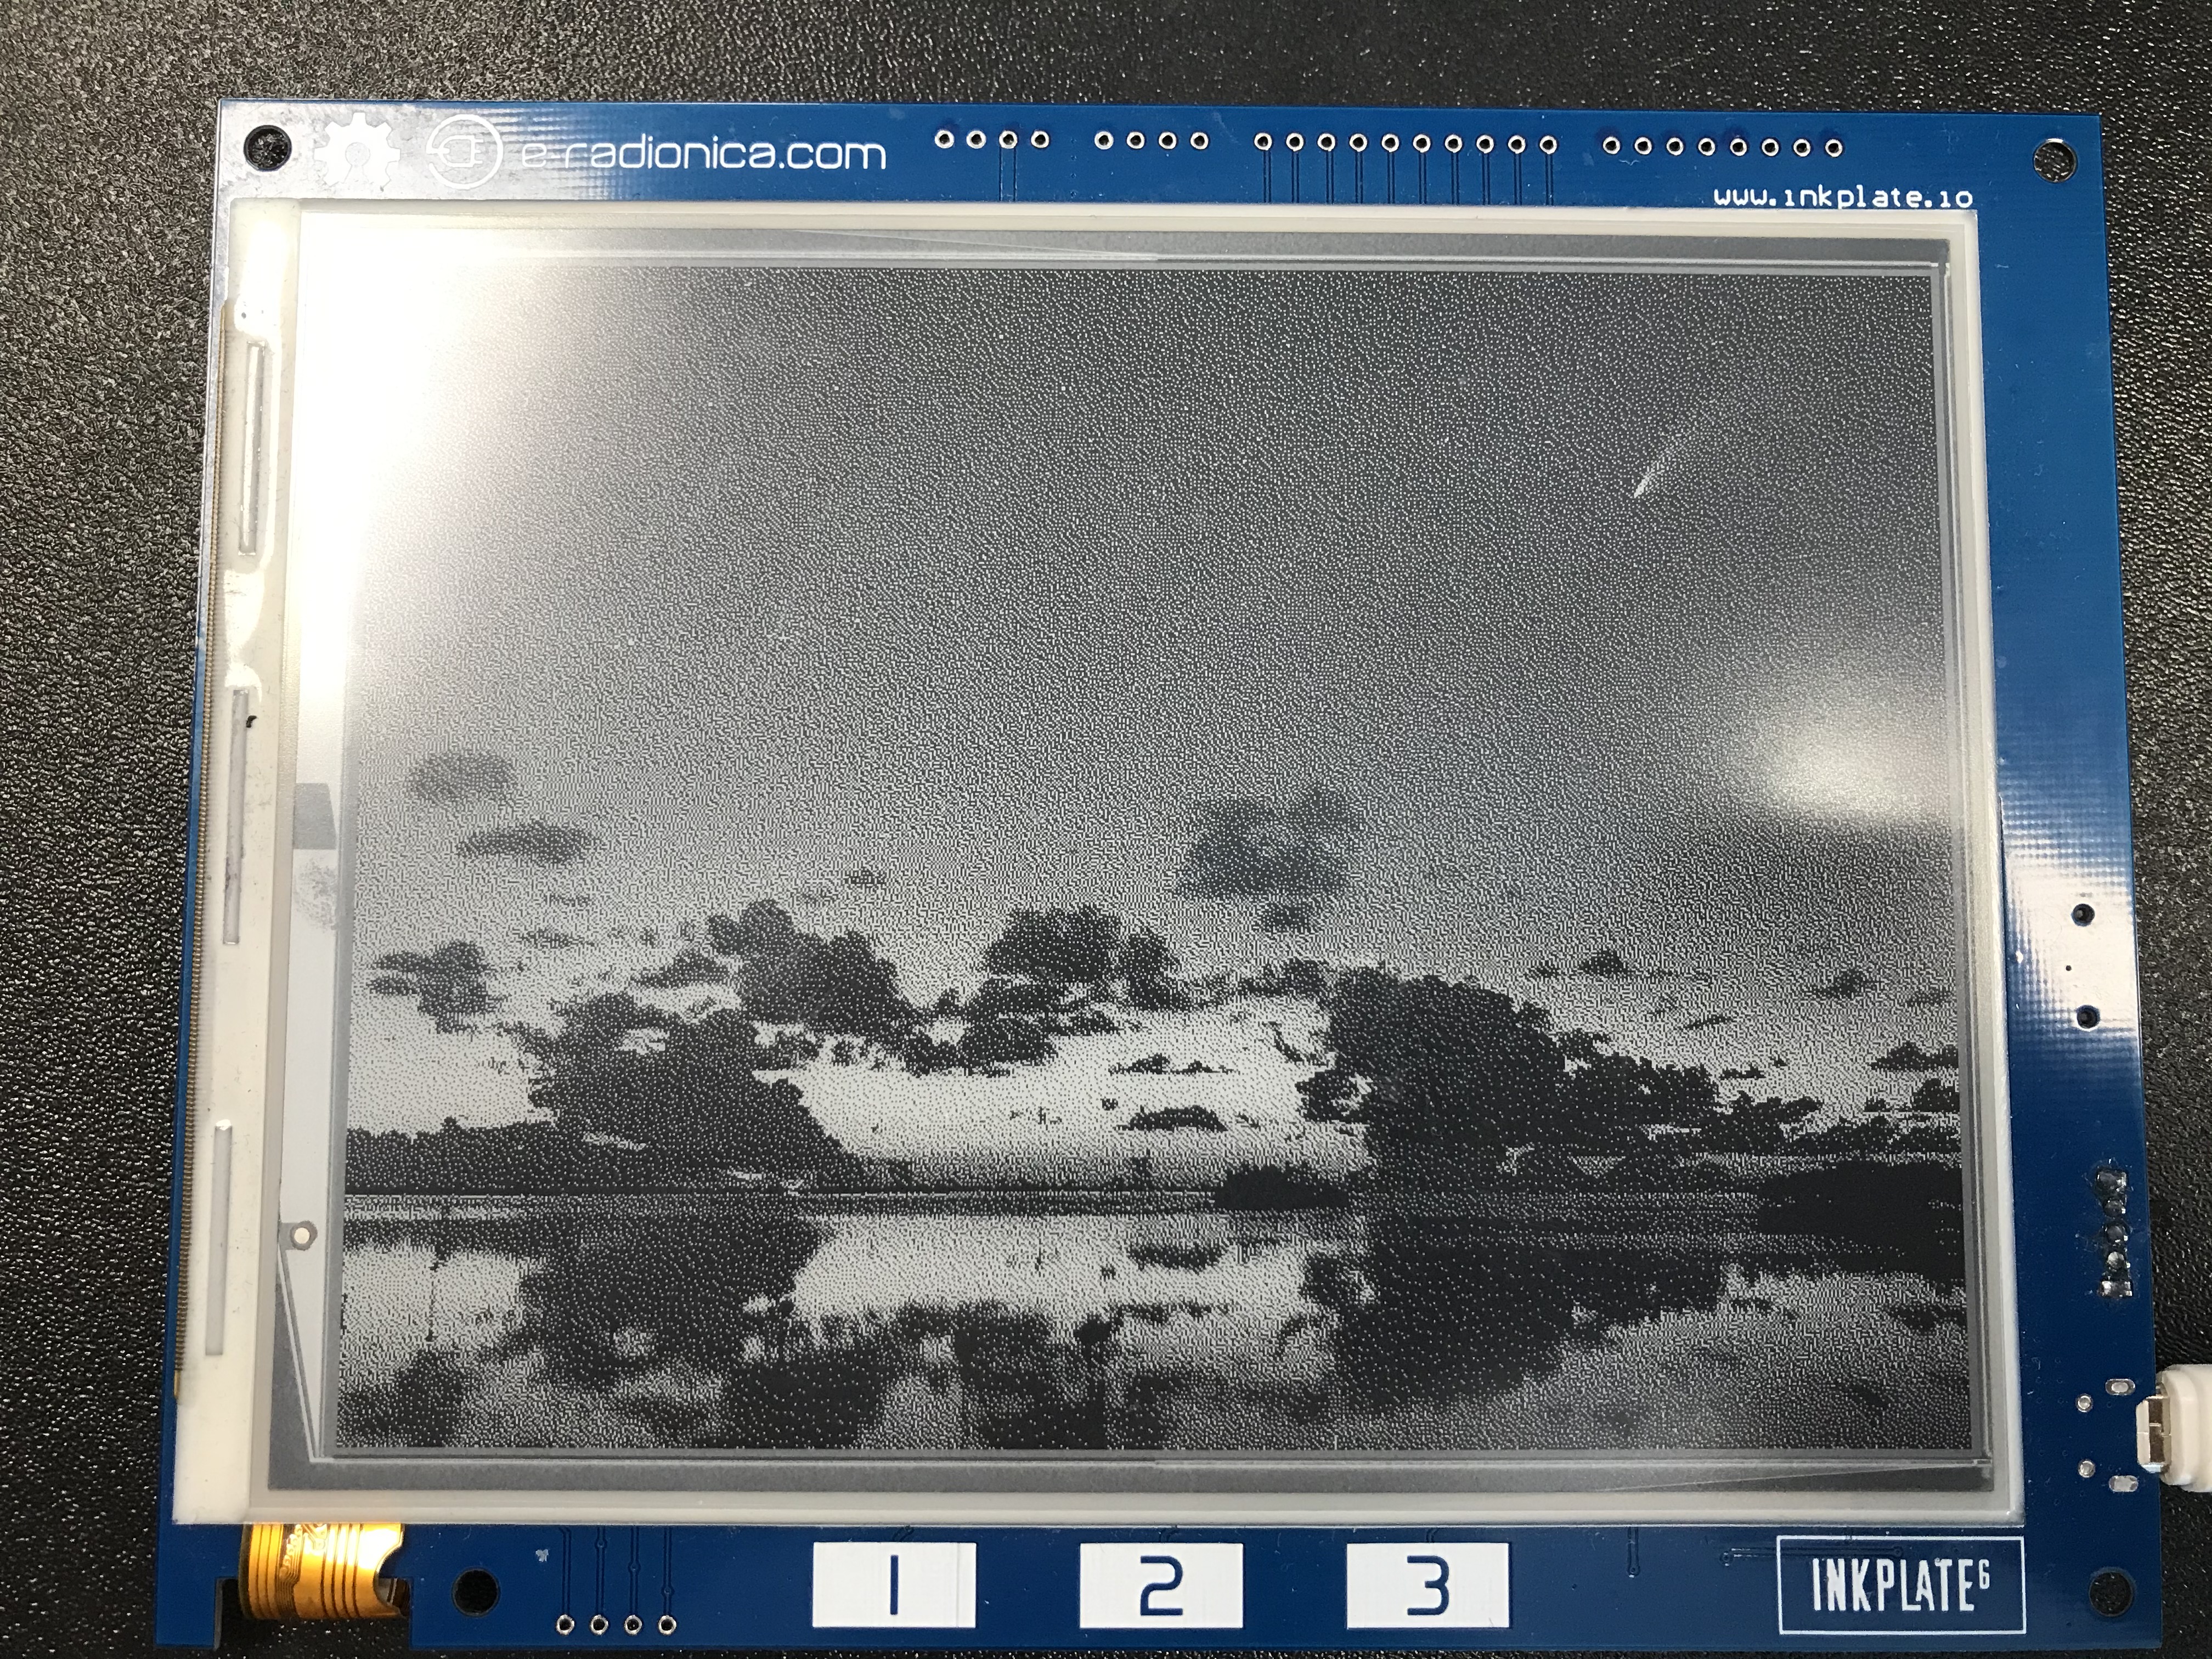
4.2.6. Inkplate_SD_Pictures
For this example you will need a micro USB cable, Inkplate and a SD card loaded with image1.bmp and image2.bmp file that can be found inside folder of this example. This example will show you how you can read .bmp and .jpeg files (pictures) from SD card and display that image on e-paper display.
4.2.7. Inkplate_SD_TXT_File
For this example you will need only a micro USB cable, Inkplate and a SD card loaded with text.txt file that can be found inside folder of this example. This example will show you how to open .txt files and display the content of that file on Inkplate epaper display.
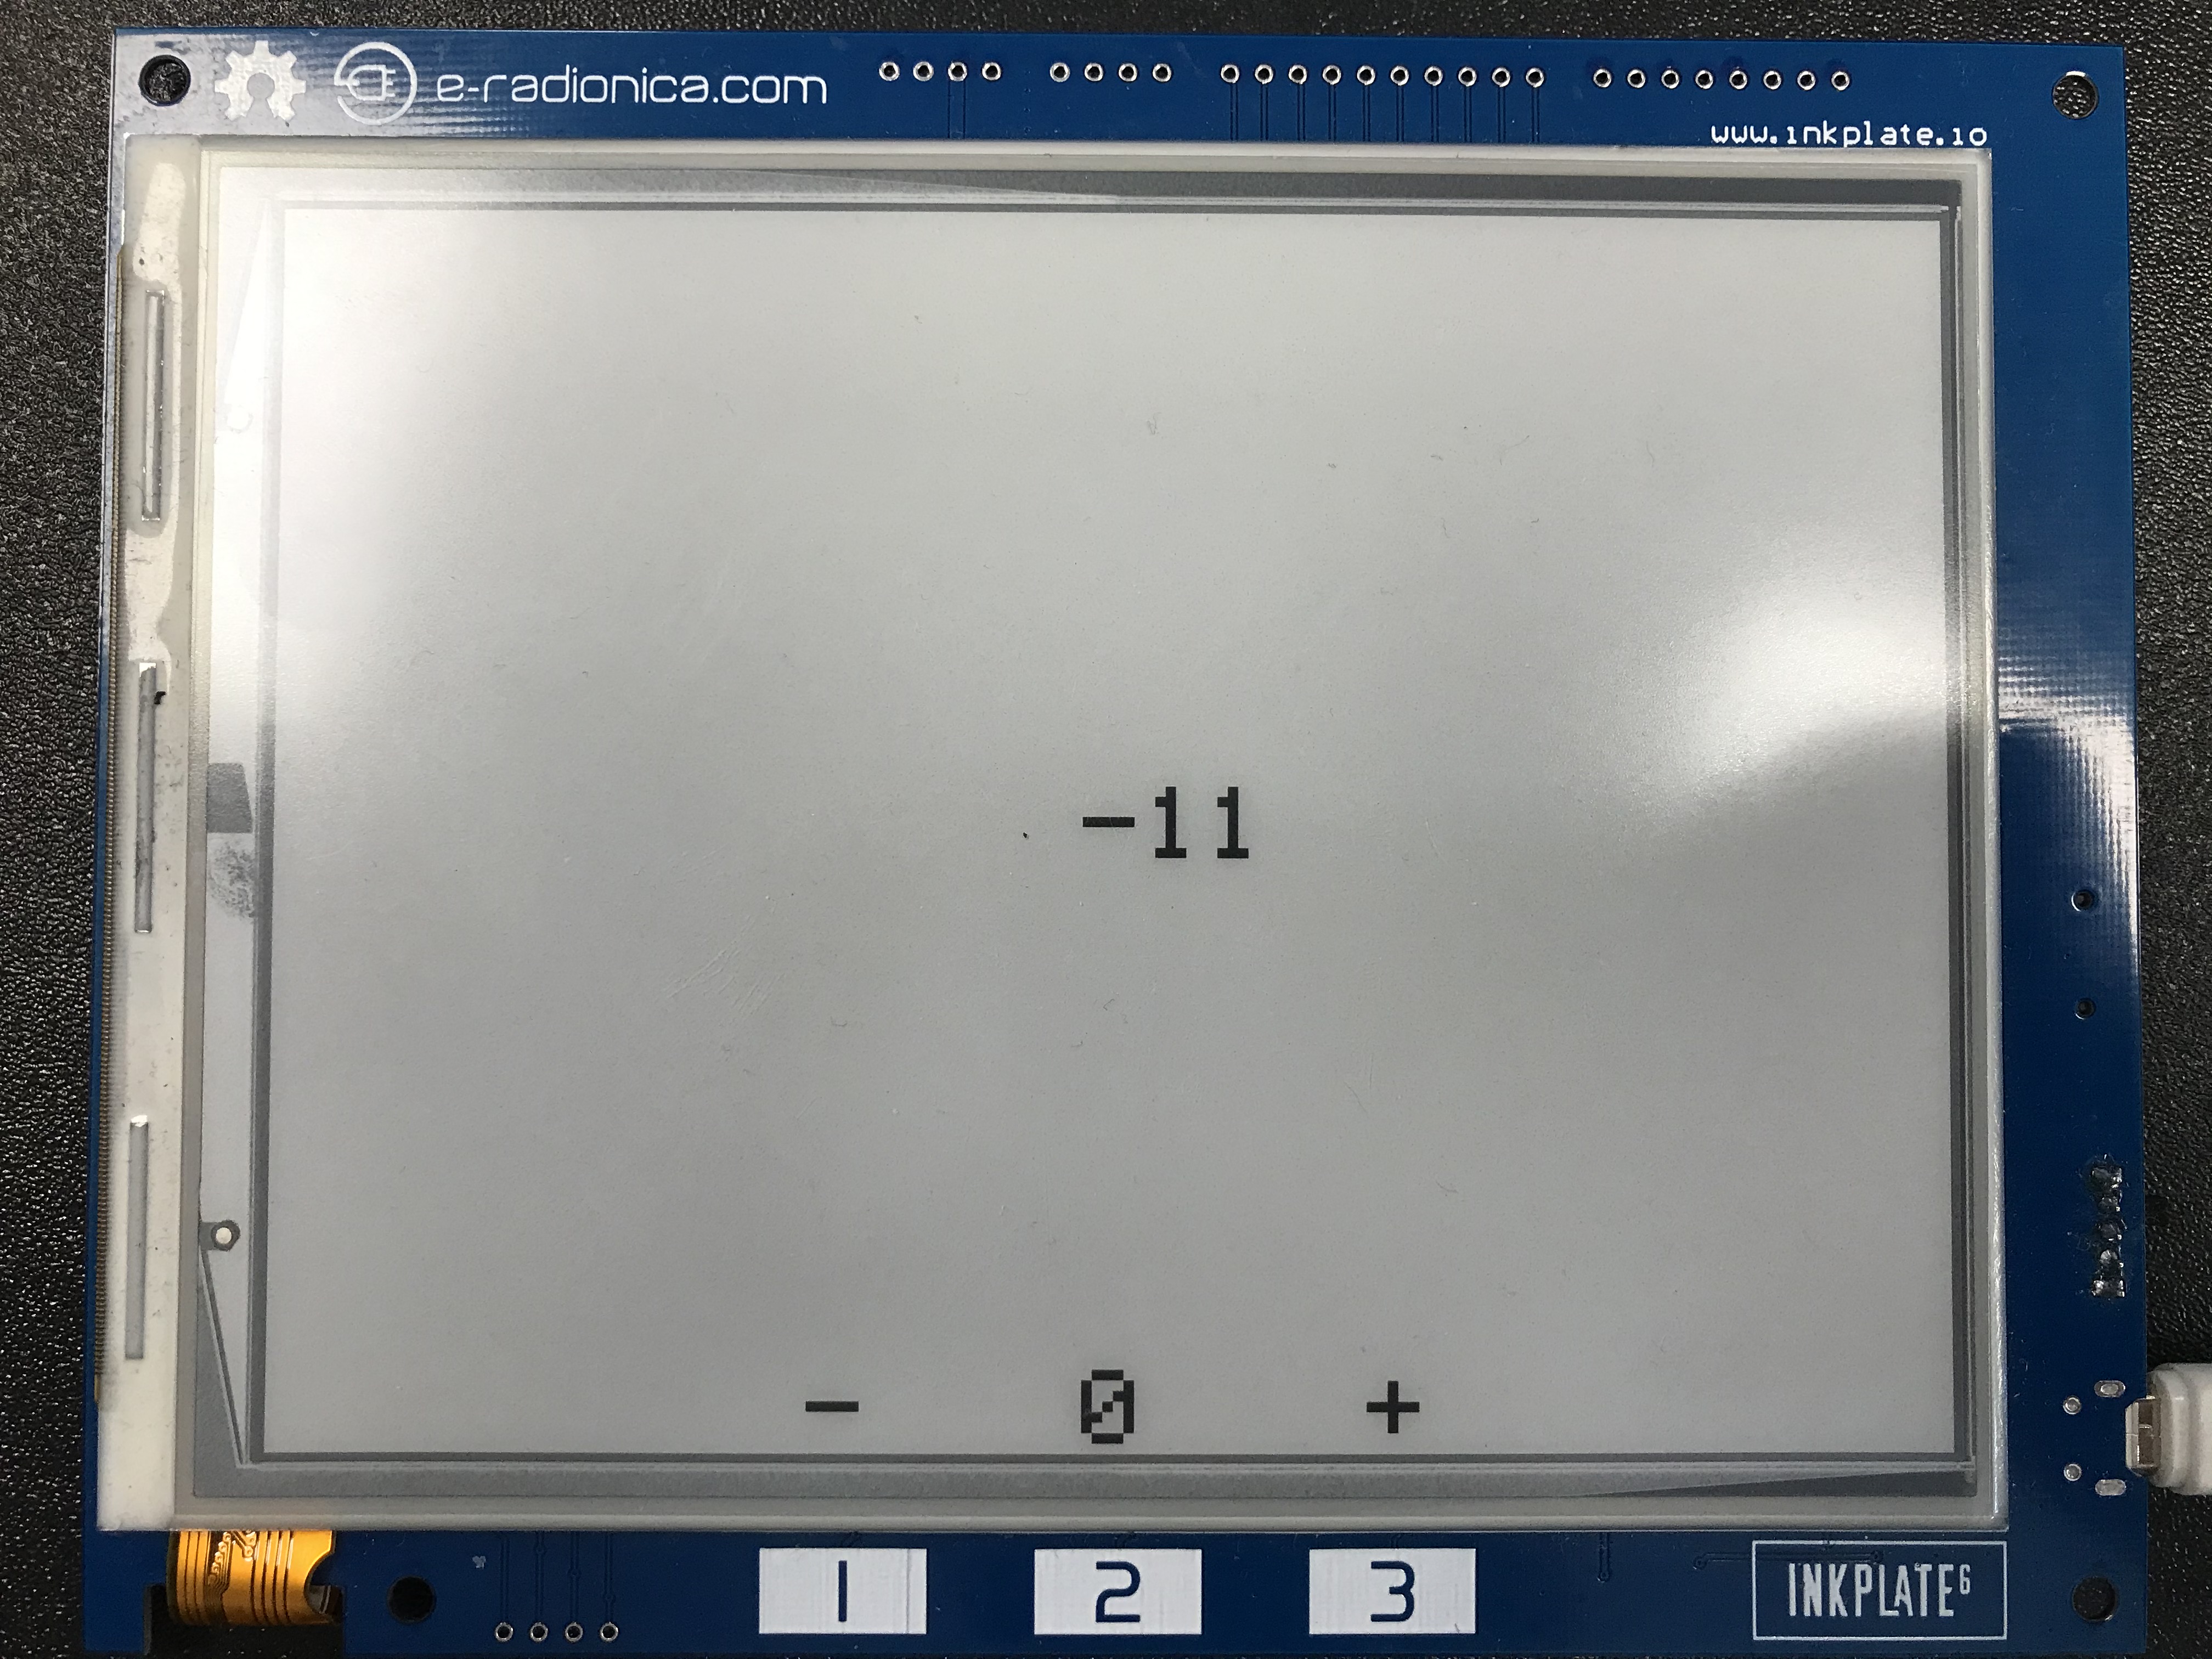
4.2.8. Inkplate_Touchpads
For this example you will need only a micro USB cable and Inkplate. This example will show you how you can use built-in touchpads (on PCB marked with numbers 1, 2 and 3). They are basically touch sensitive switches.
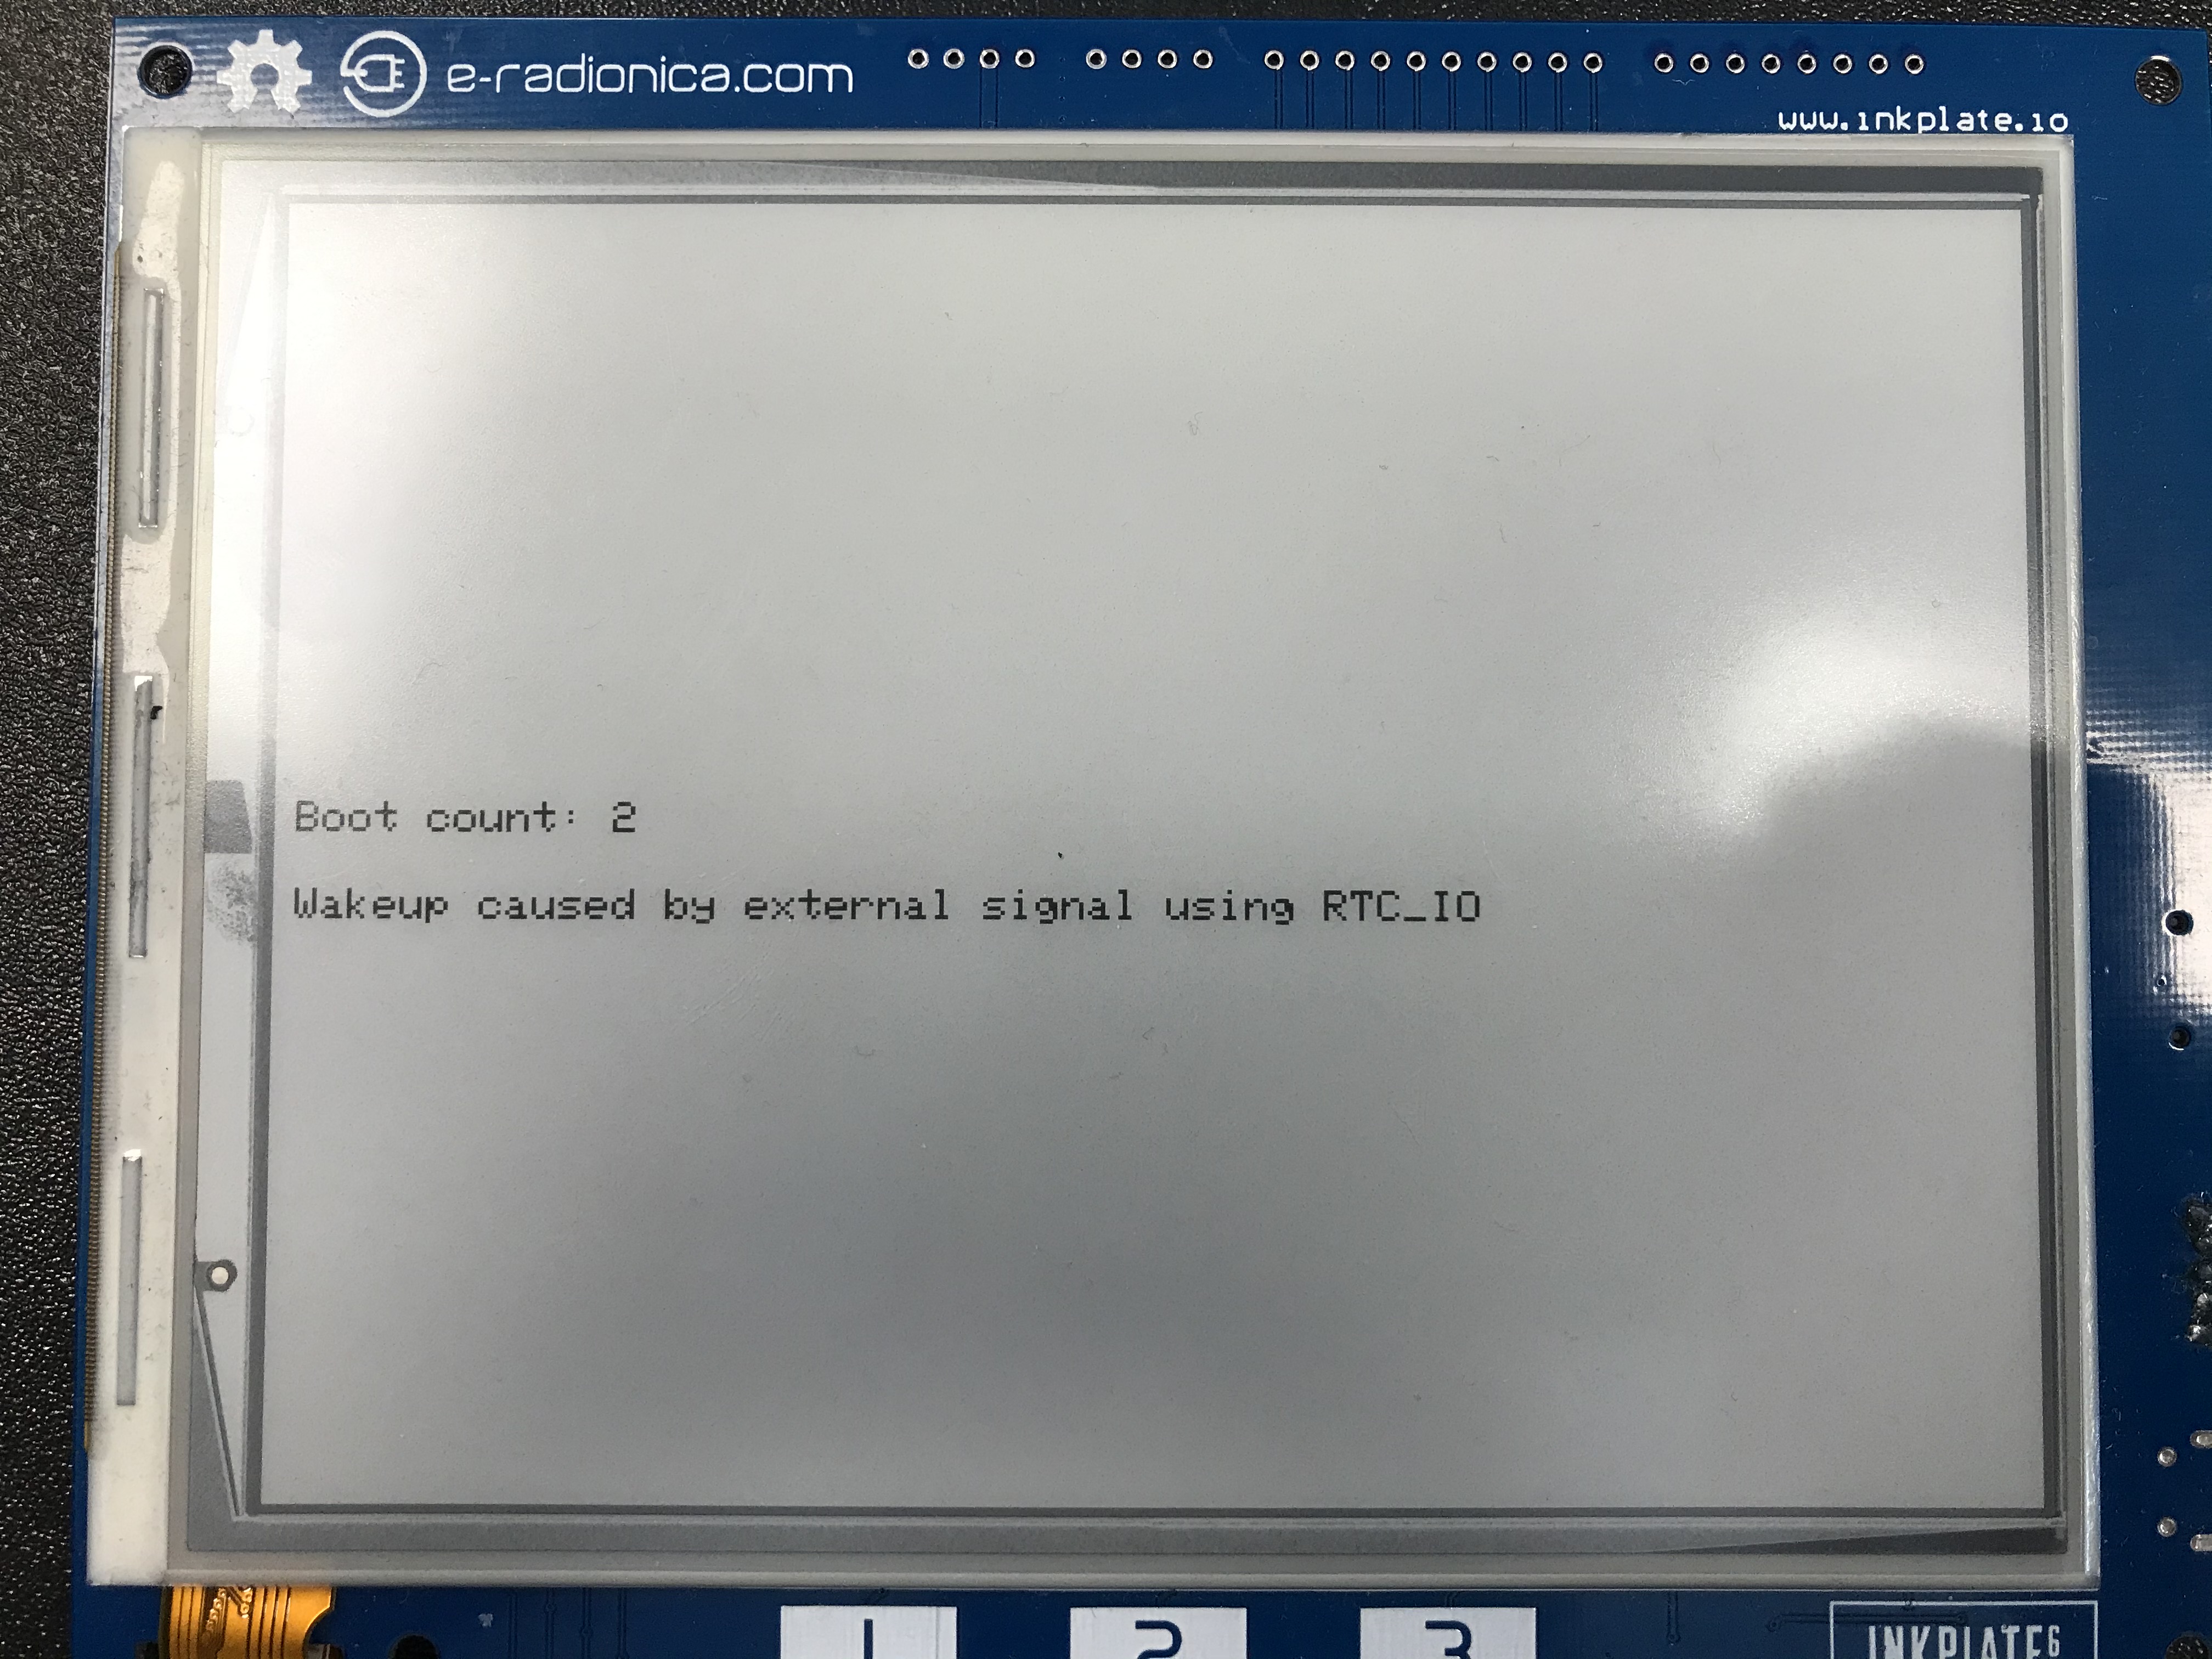
4.2.9. Inkplate_Wake_Up_On_Touchpads
This example will shown how to use MCP and ESP interrupts to wake up the MCU from deepsleep when touchpad is pressed.
4.2.10. Web_BMP_Pictures
For this example you will need a micro USB cable, Inkplate, and an available WiFi connection. This example will show you how you can download a .bmp file (picture) from the web and display that image on e-paper display.
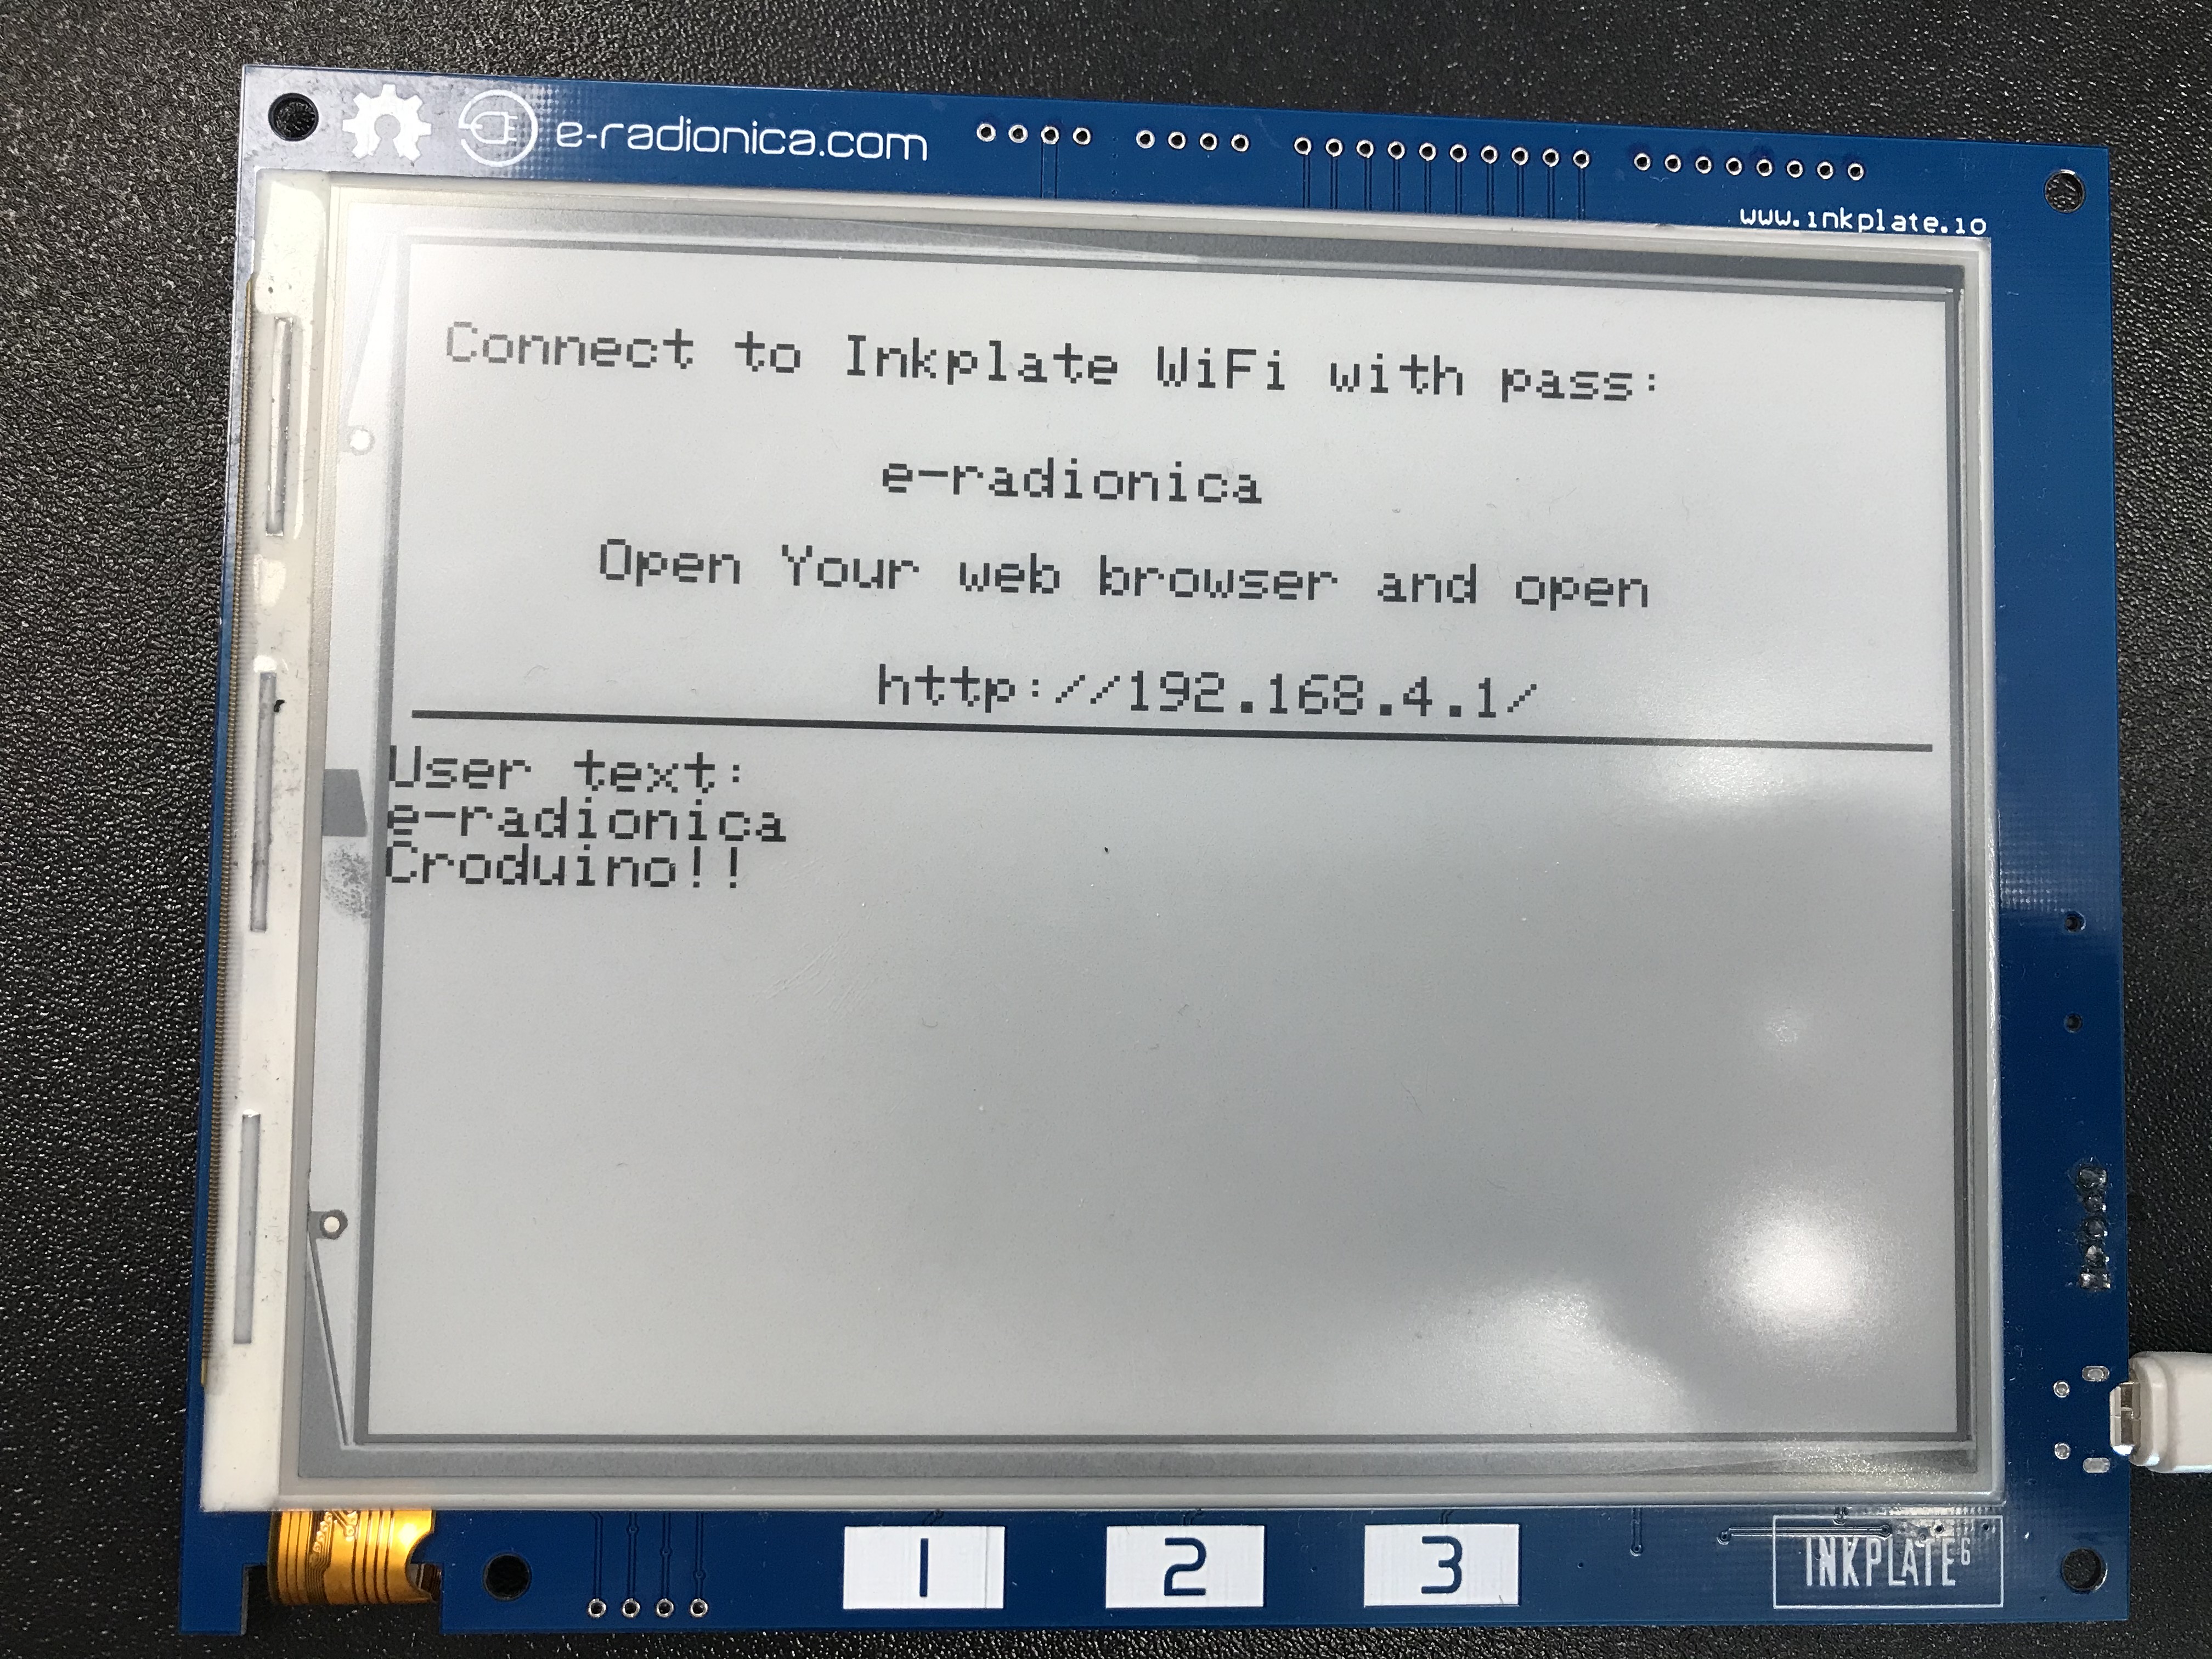
4.2.11. Inkplate_Web_Server
For this example you will need a micro USB cable, Inkplate and a device with WiFi and Internet brower (PC, Laptop, Smartphone etc). This example will show you how you can use Inkplate as a small and simple standlone Web Server. You need to connect to Inkplate with WiFi and open IP address shown on Inkplate display.
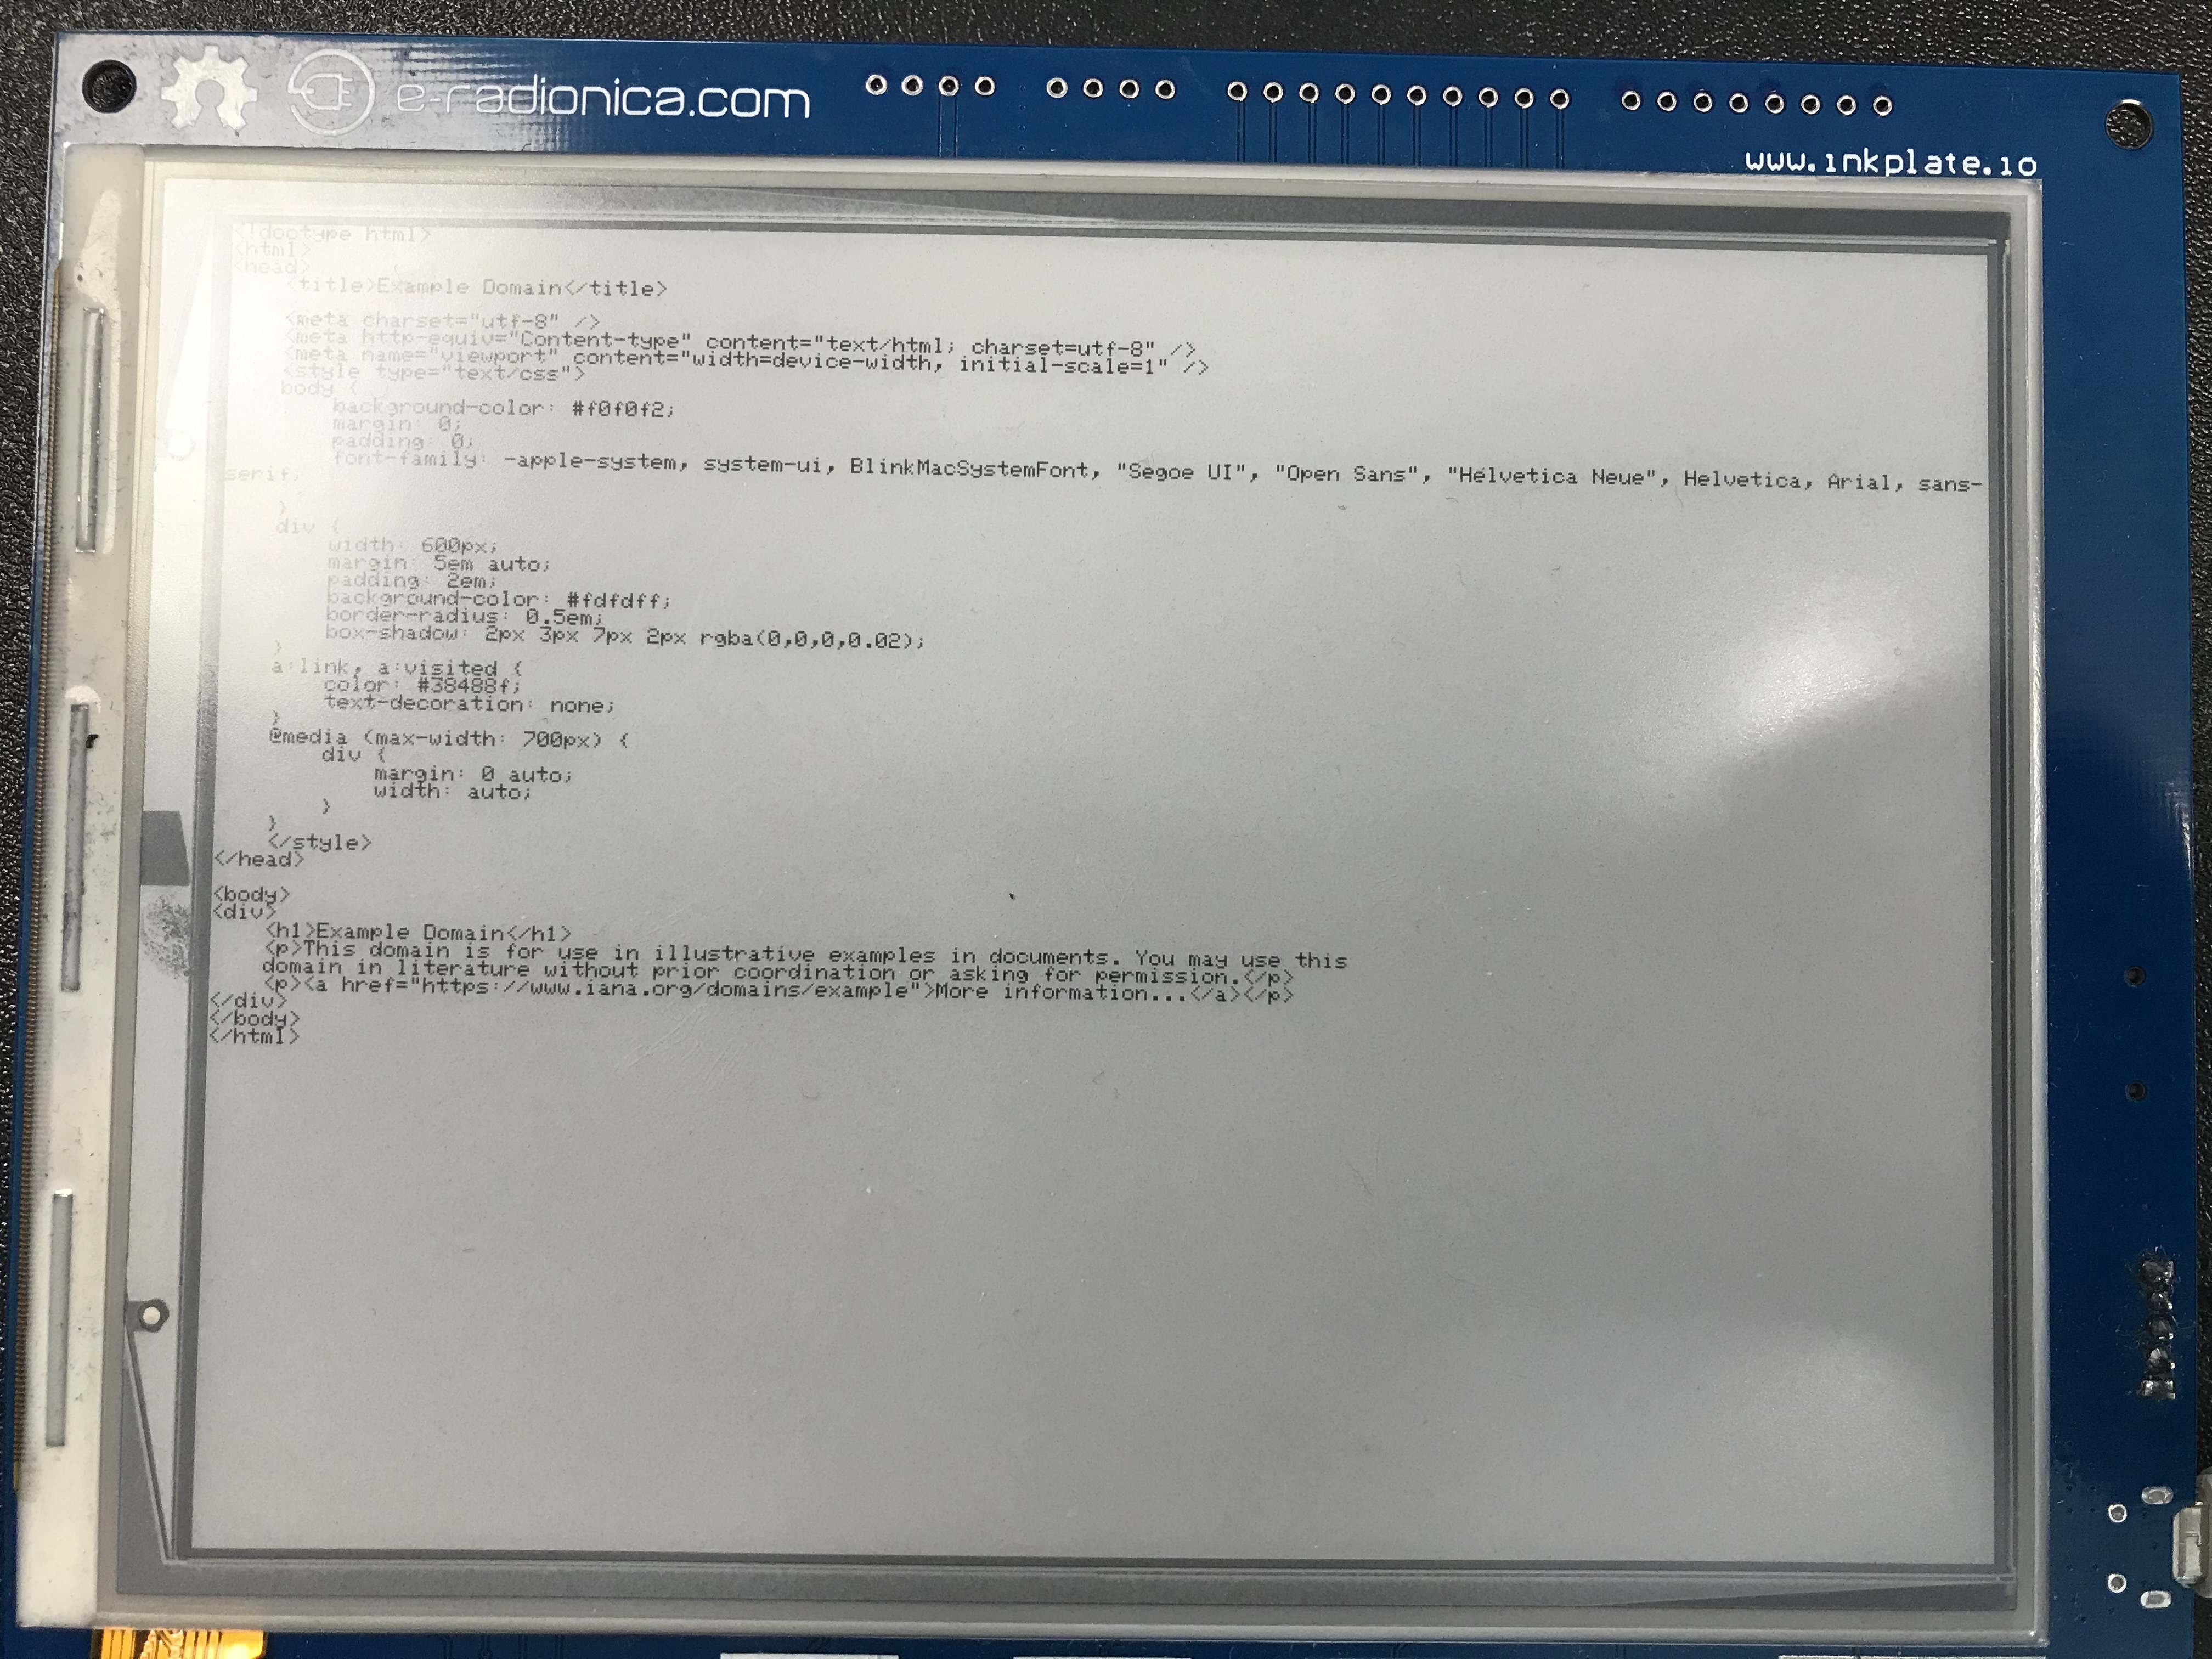
4.2.12. Inkplate_WiFi_HTTP
For this example you will need USB cable, Inkplate and stable WiFi Internet connection. This example will show you how to connect to WiFi network, get data from Internet and display that data on epaper. This example is NOT on to how to parse HTML data from Internet - it will just print HTML on the screen.
4.3. Community contributions
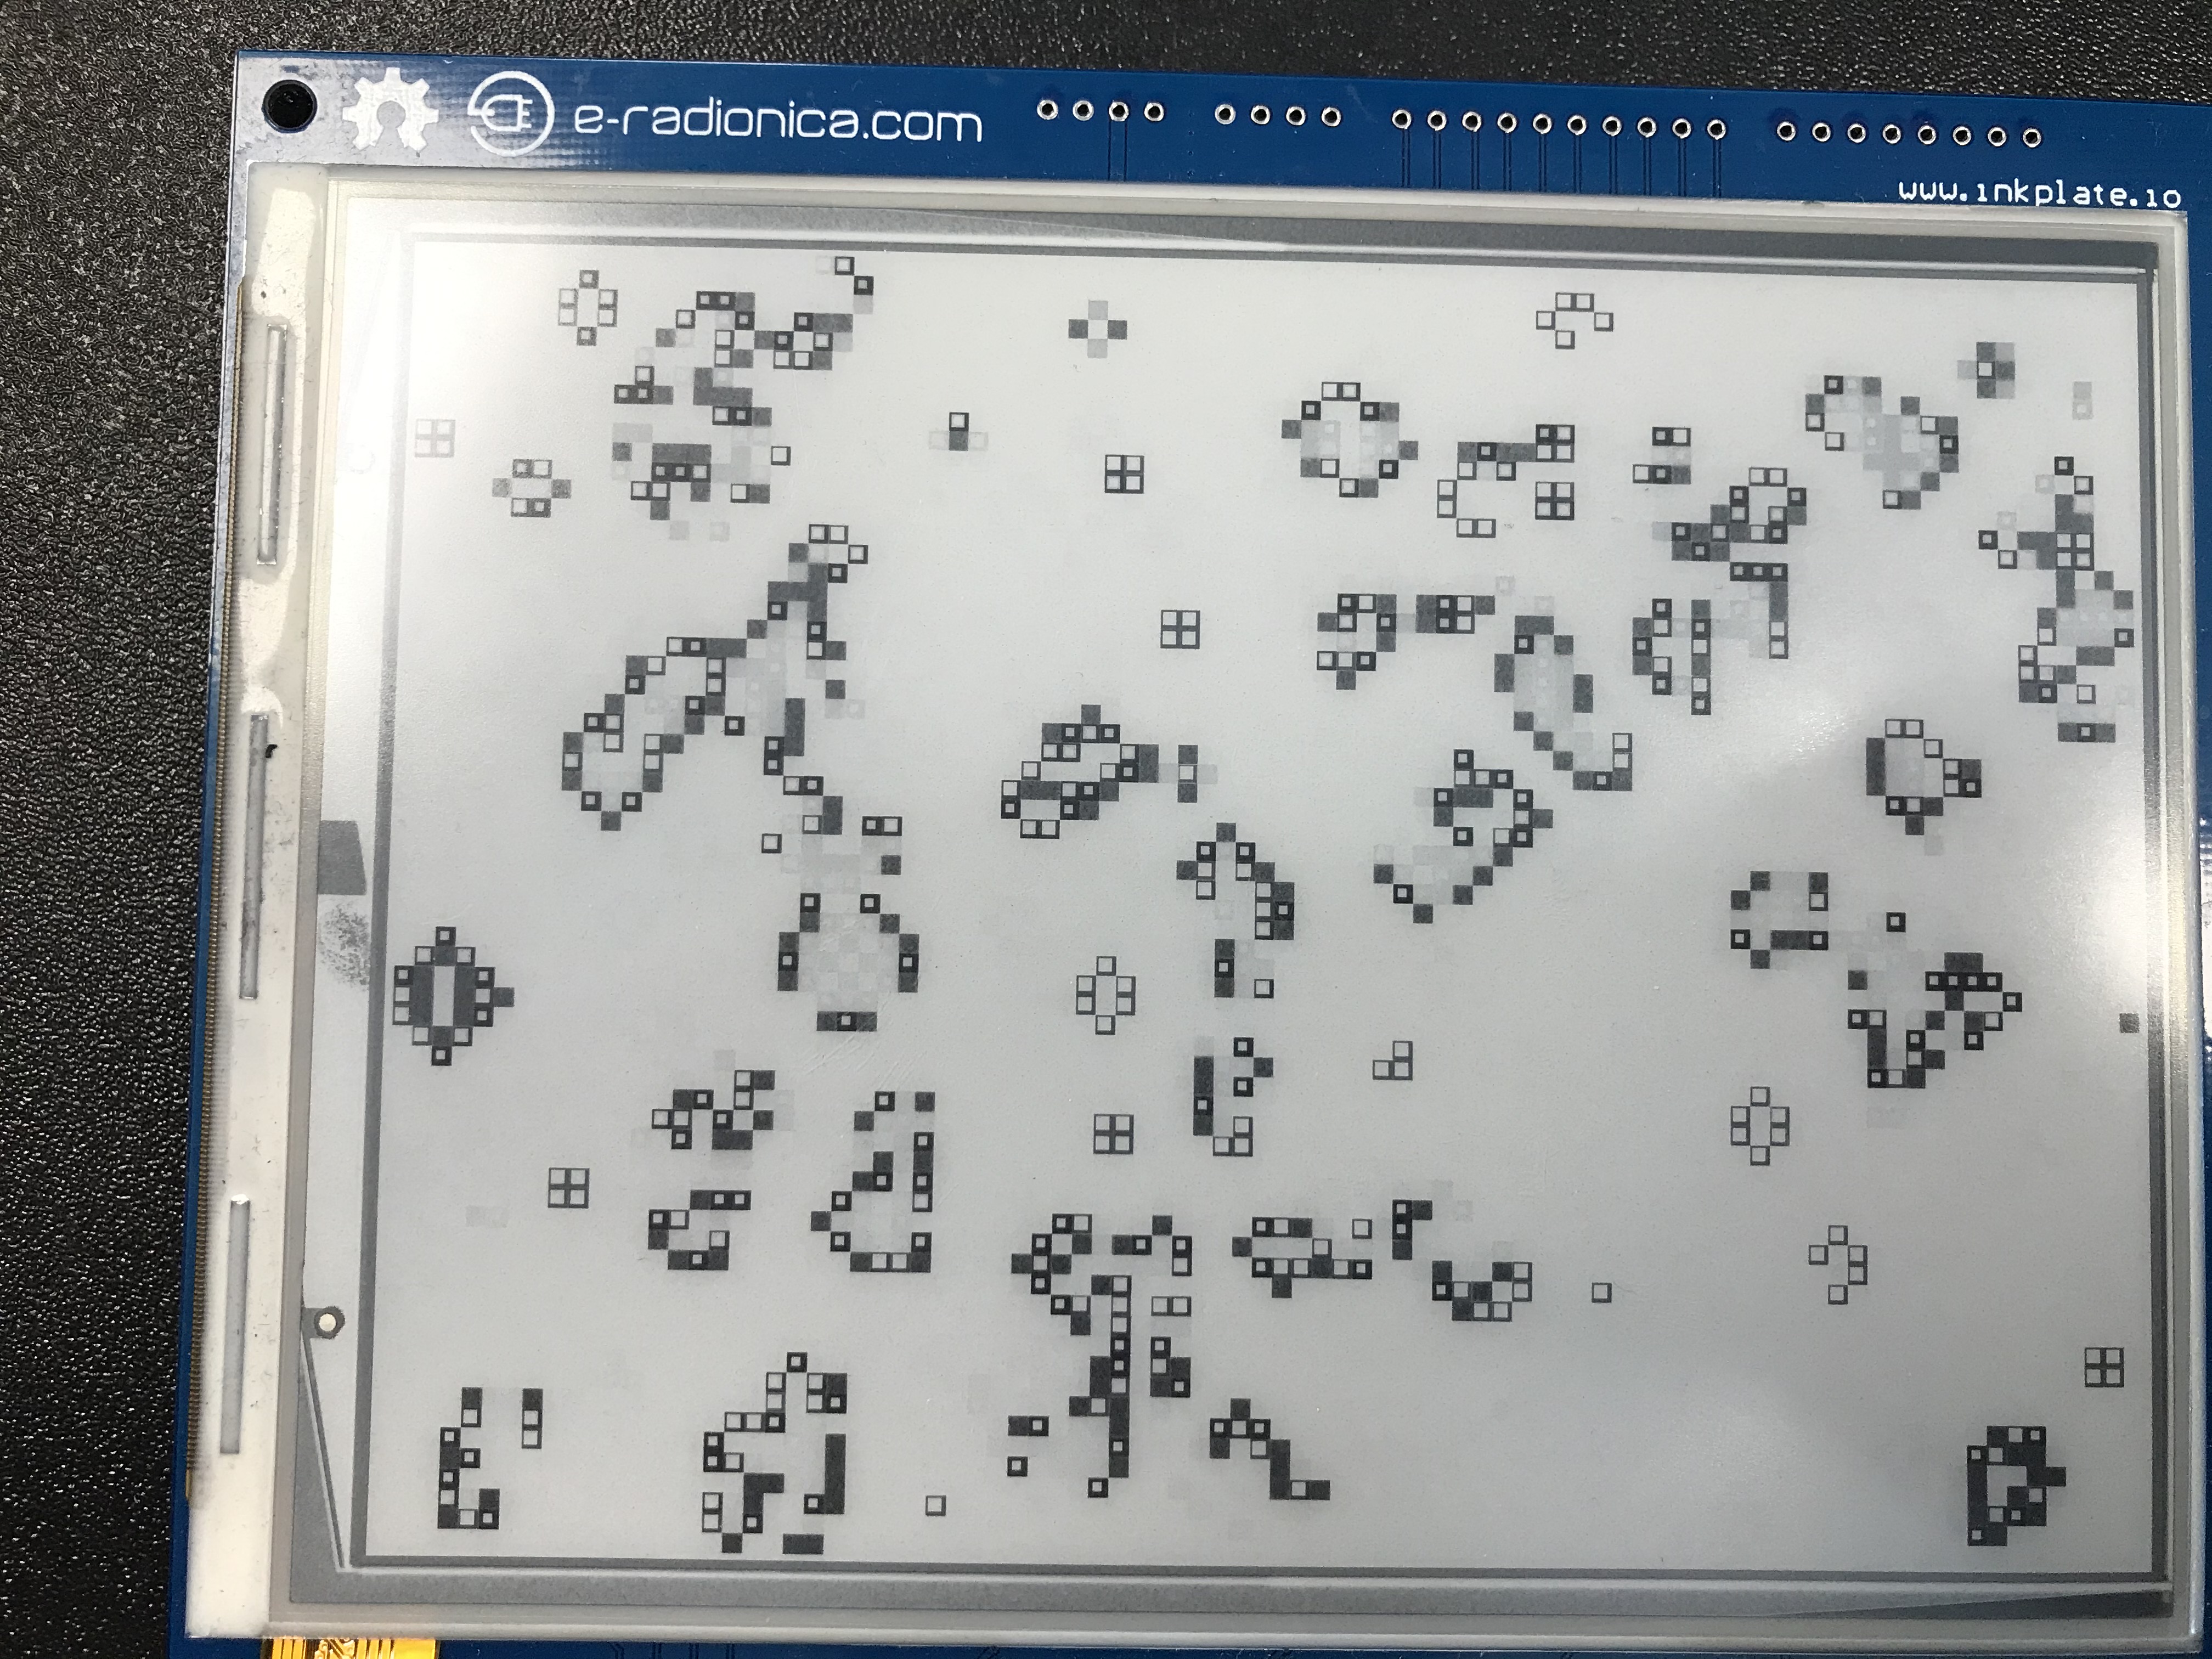
4.3.1. Game_Of_Life_By_Claud9999
To run it, jut upload the code and watch Conways game of life animation!
4.4. Others
4.4.1. Inkplate_Factory_Programming_VCOM
This example should not be used if you dont know what VCOM is and what exactly you are doing as it can damage panel.
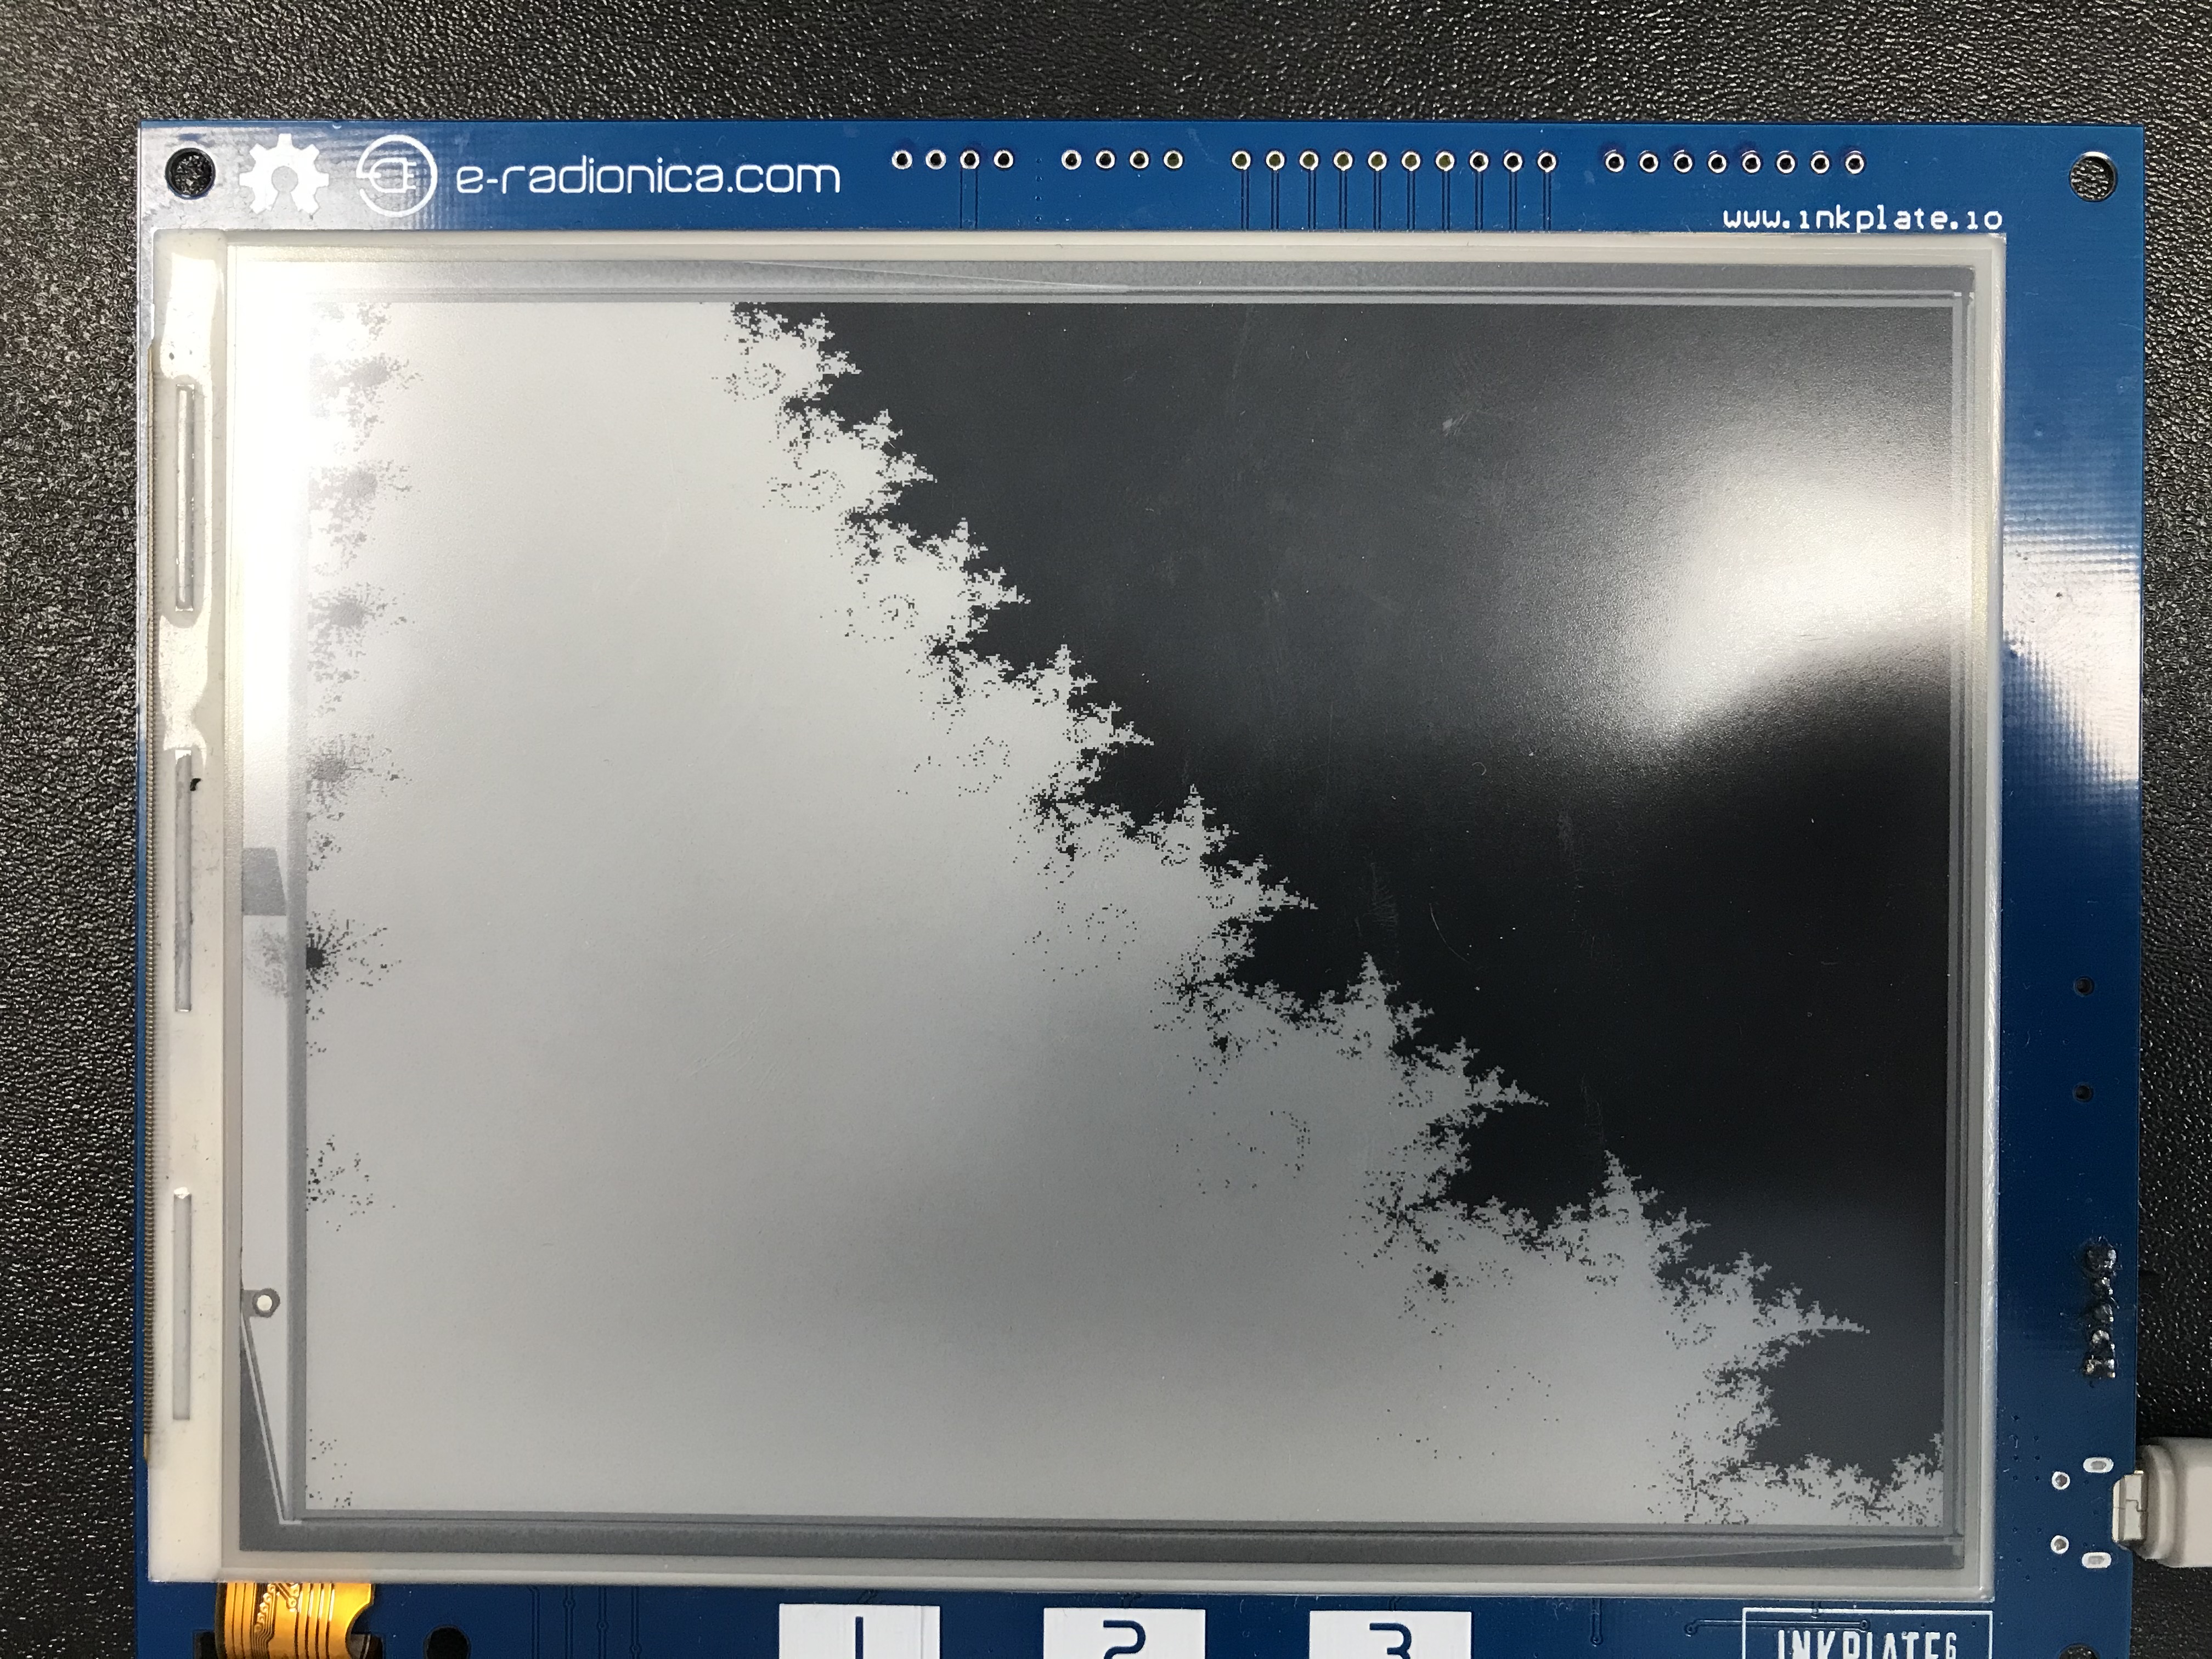
4.4.2. Inkplate_Mandelbrot_Set
This example renders the mandelbrot set to coordiantes to Inkplate. Due to the nature of Mandelbrot set, it is quite slow on low powered MCUs, so please be patient.
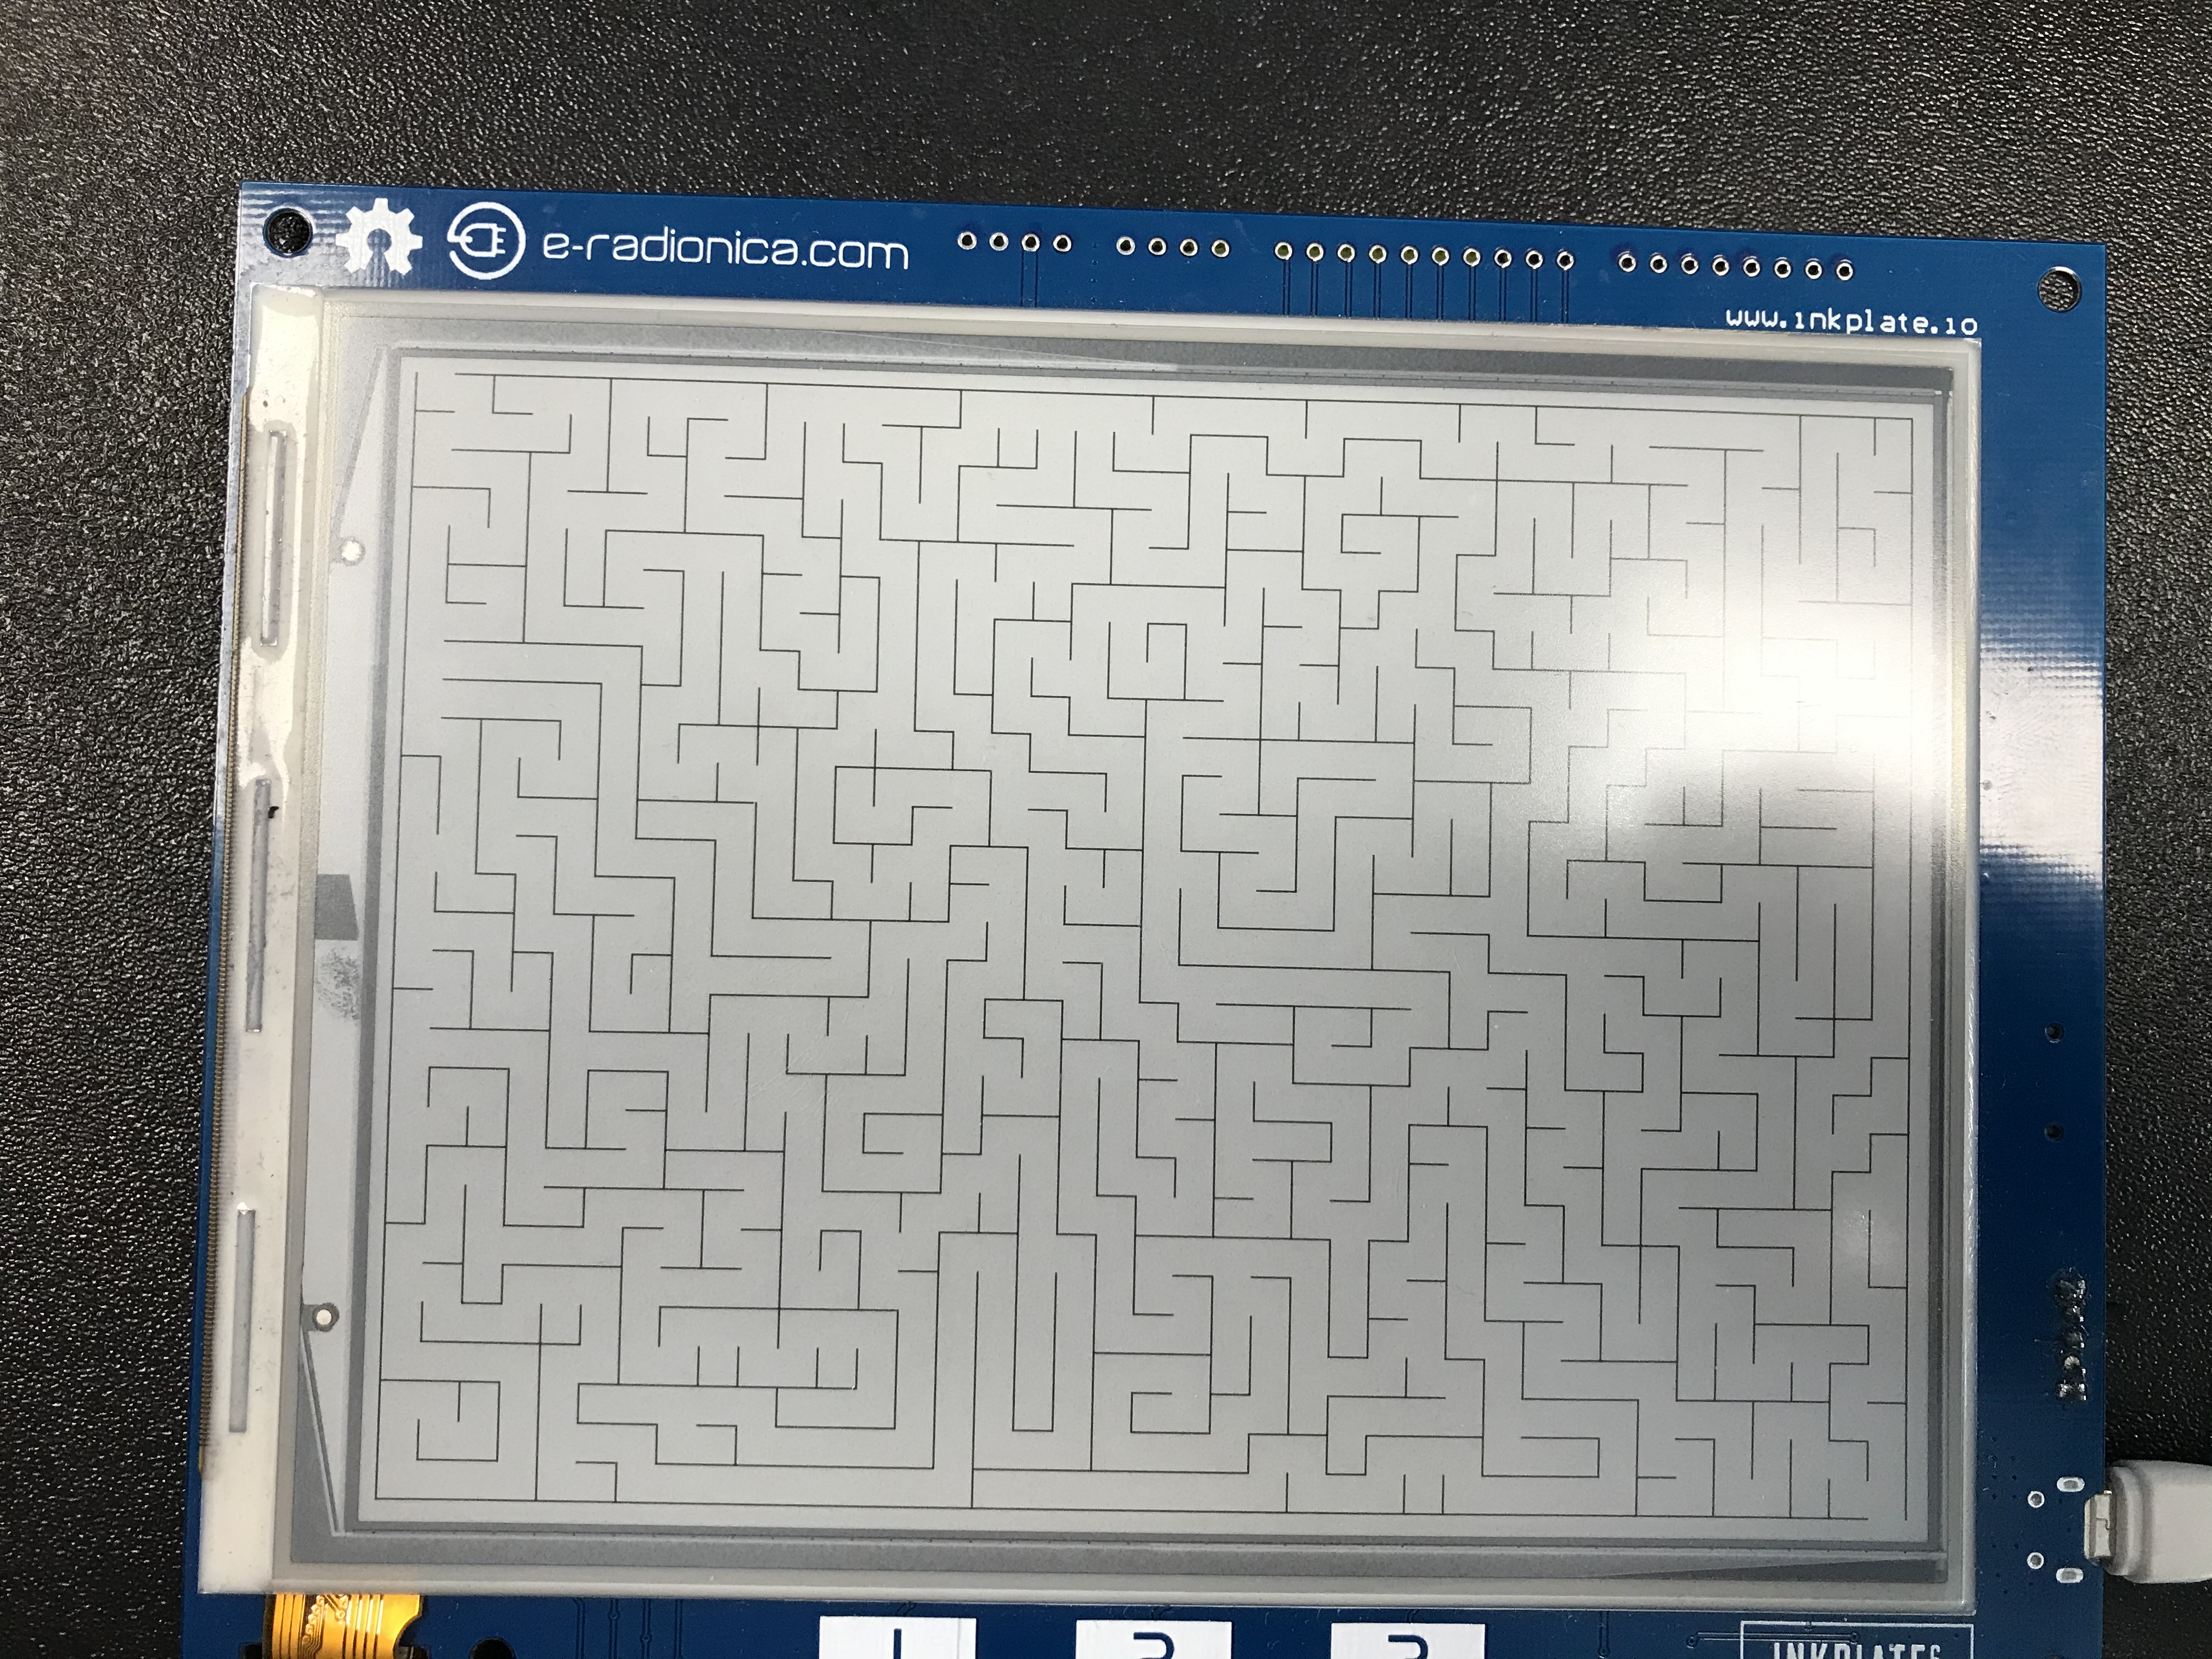
4.4.3. Inkplate_Maze_Generator
This example renders a random maze every time. You can write on it with a whiteboard marker or a graphite pen to solve it, just be sure not to use pernament markers.
4.4.4. Inkplate_Peripheral_Mode
Using this sketch, you don’t have to program and control e-paper using Arduino code. Instead, you can send UART command. This give you flexibility that you can use this Inkplate on any platform.
4.4.5. Inkplate_VariPass_Graphs
This example will show you how you can use the API on the VariPass website to download and display a sensor graph on the e-paper display.

4.5. Projects
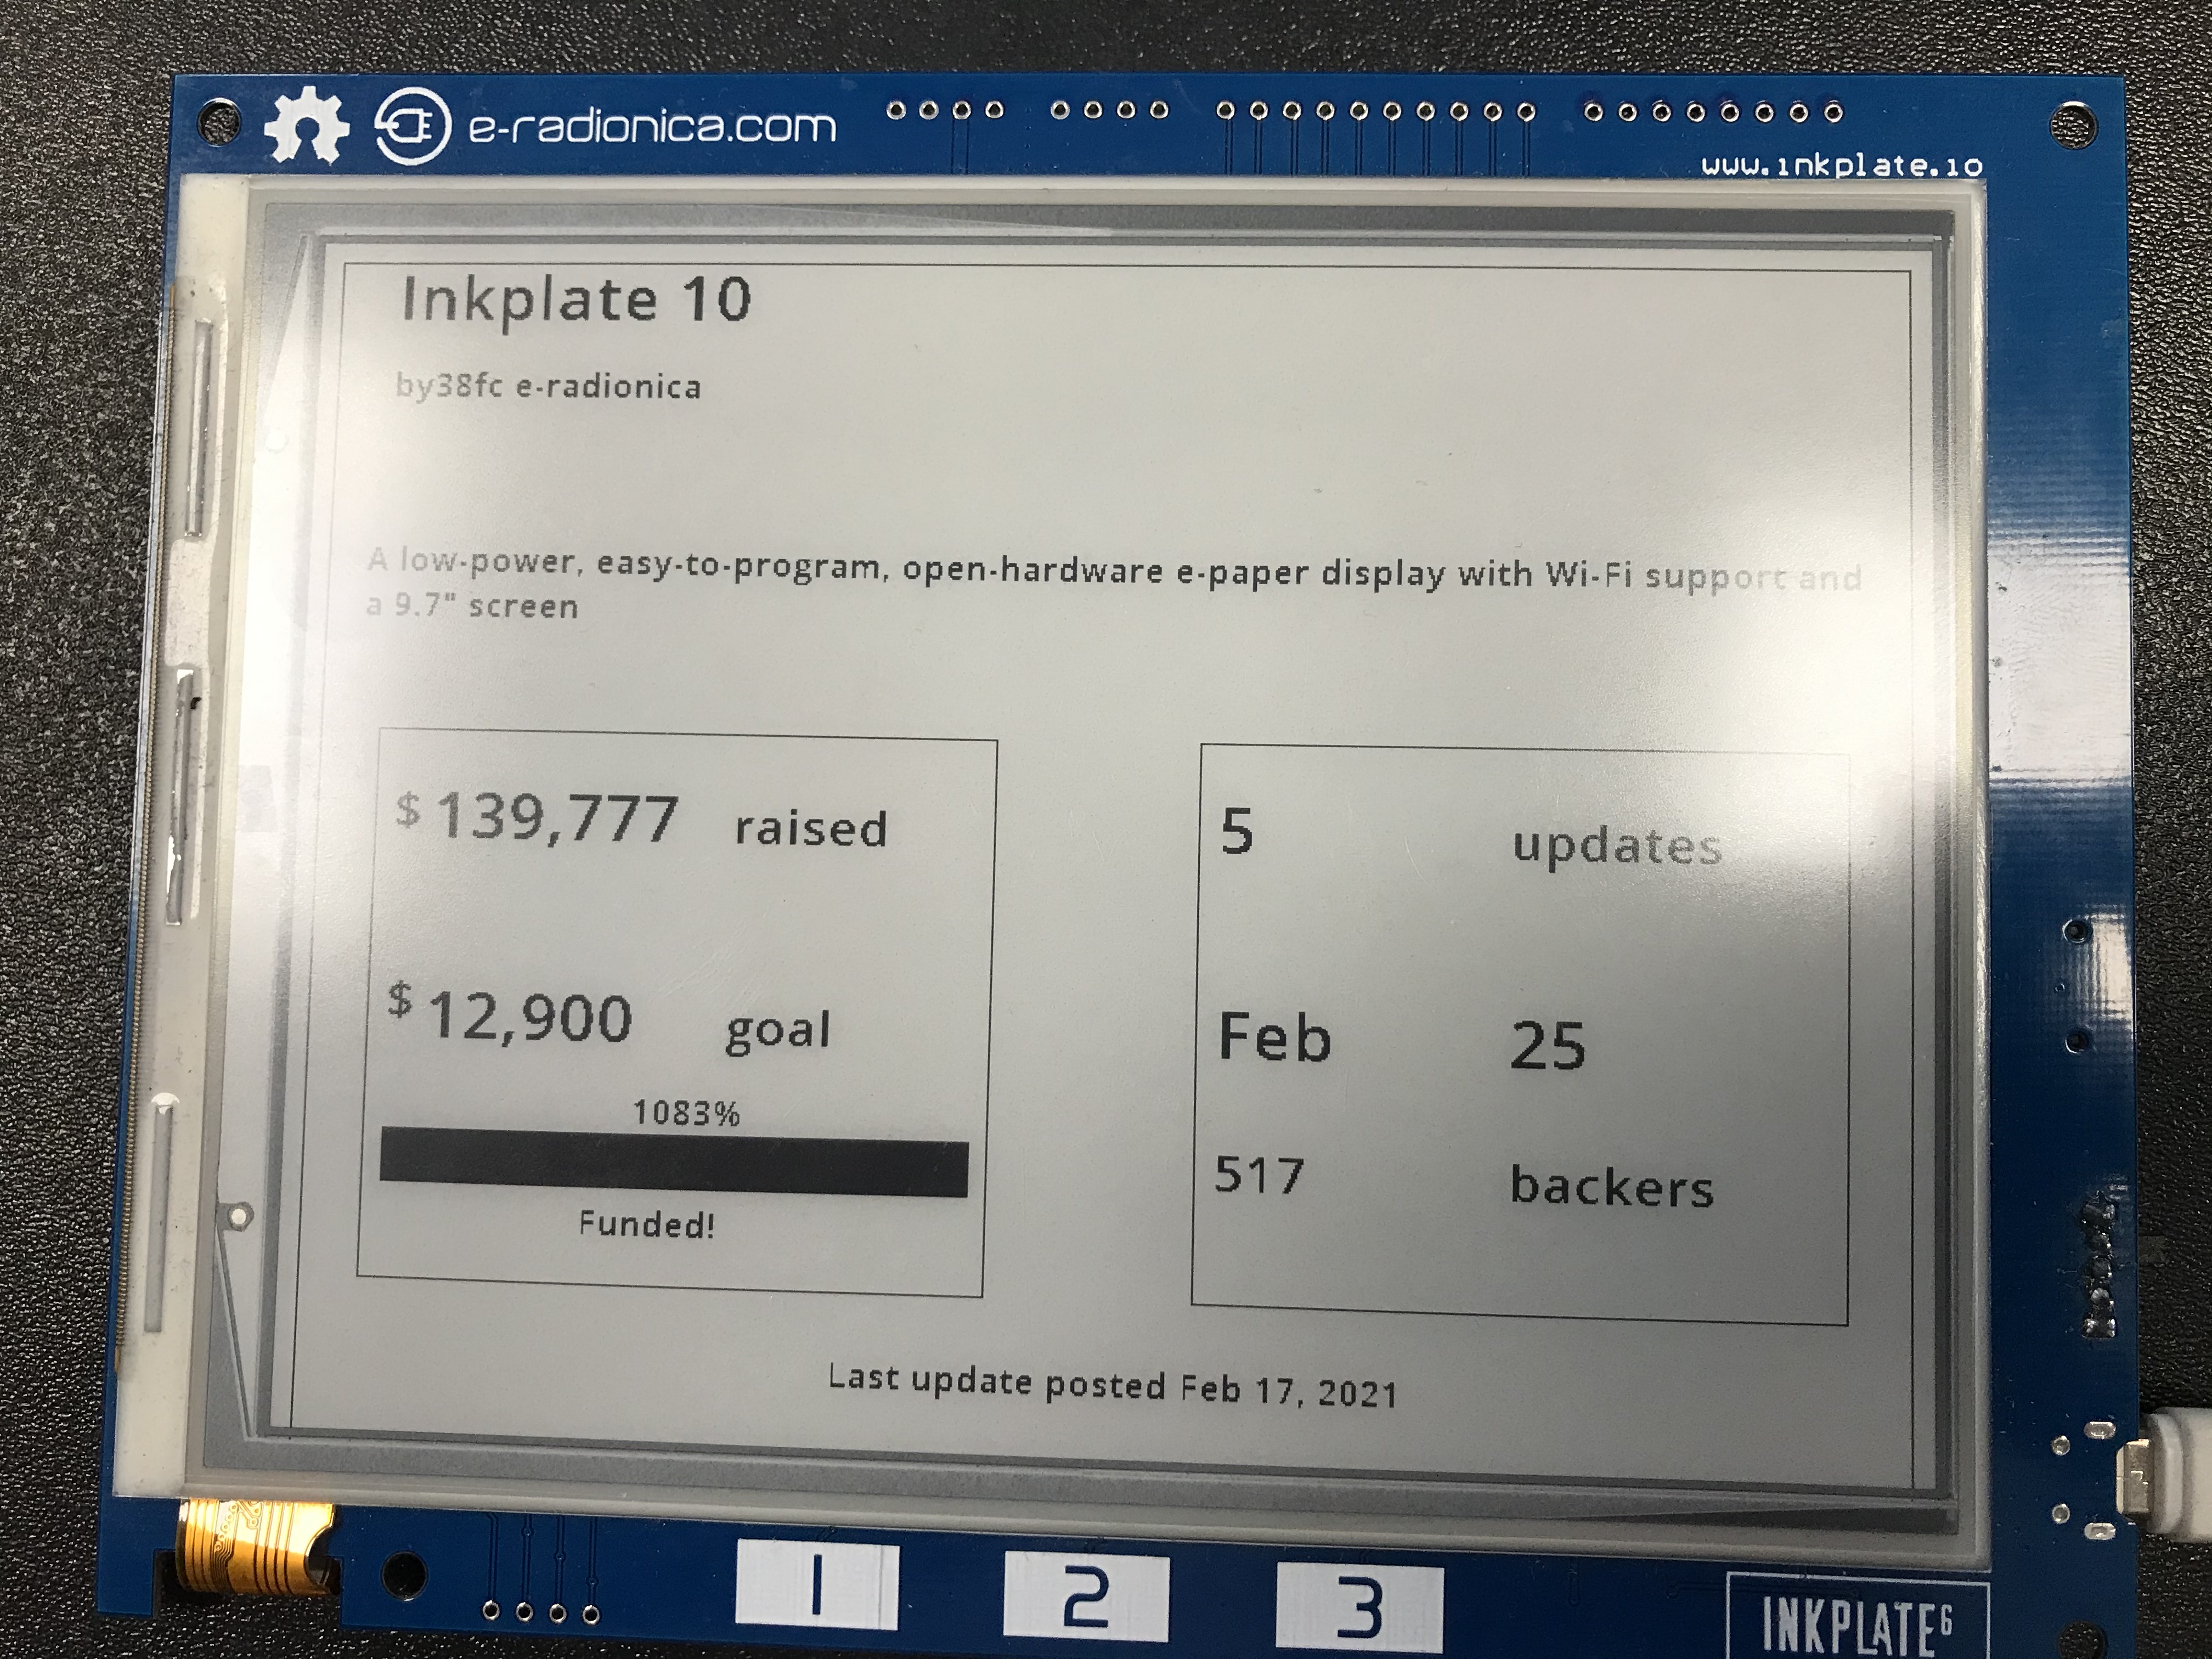
4.5.1. Campaing_Tracker
This example will show you how you can use Inkplate to display html data. It gets html data from crowdsource campaing and displays them on Inkplate screen.
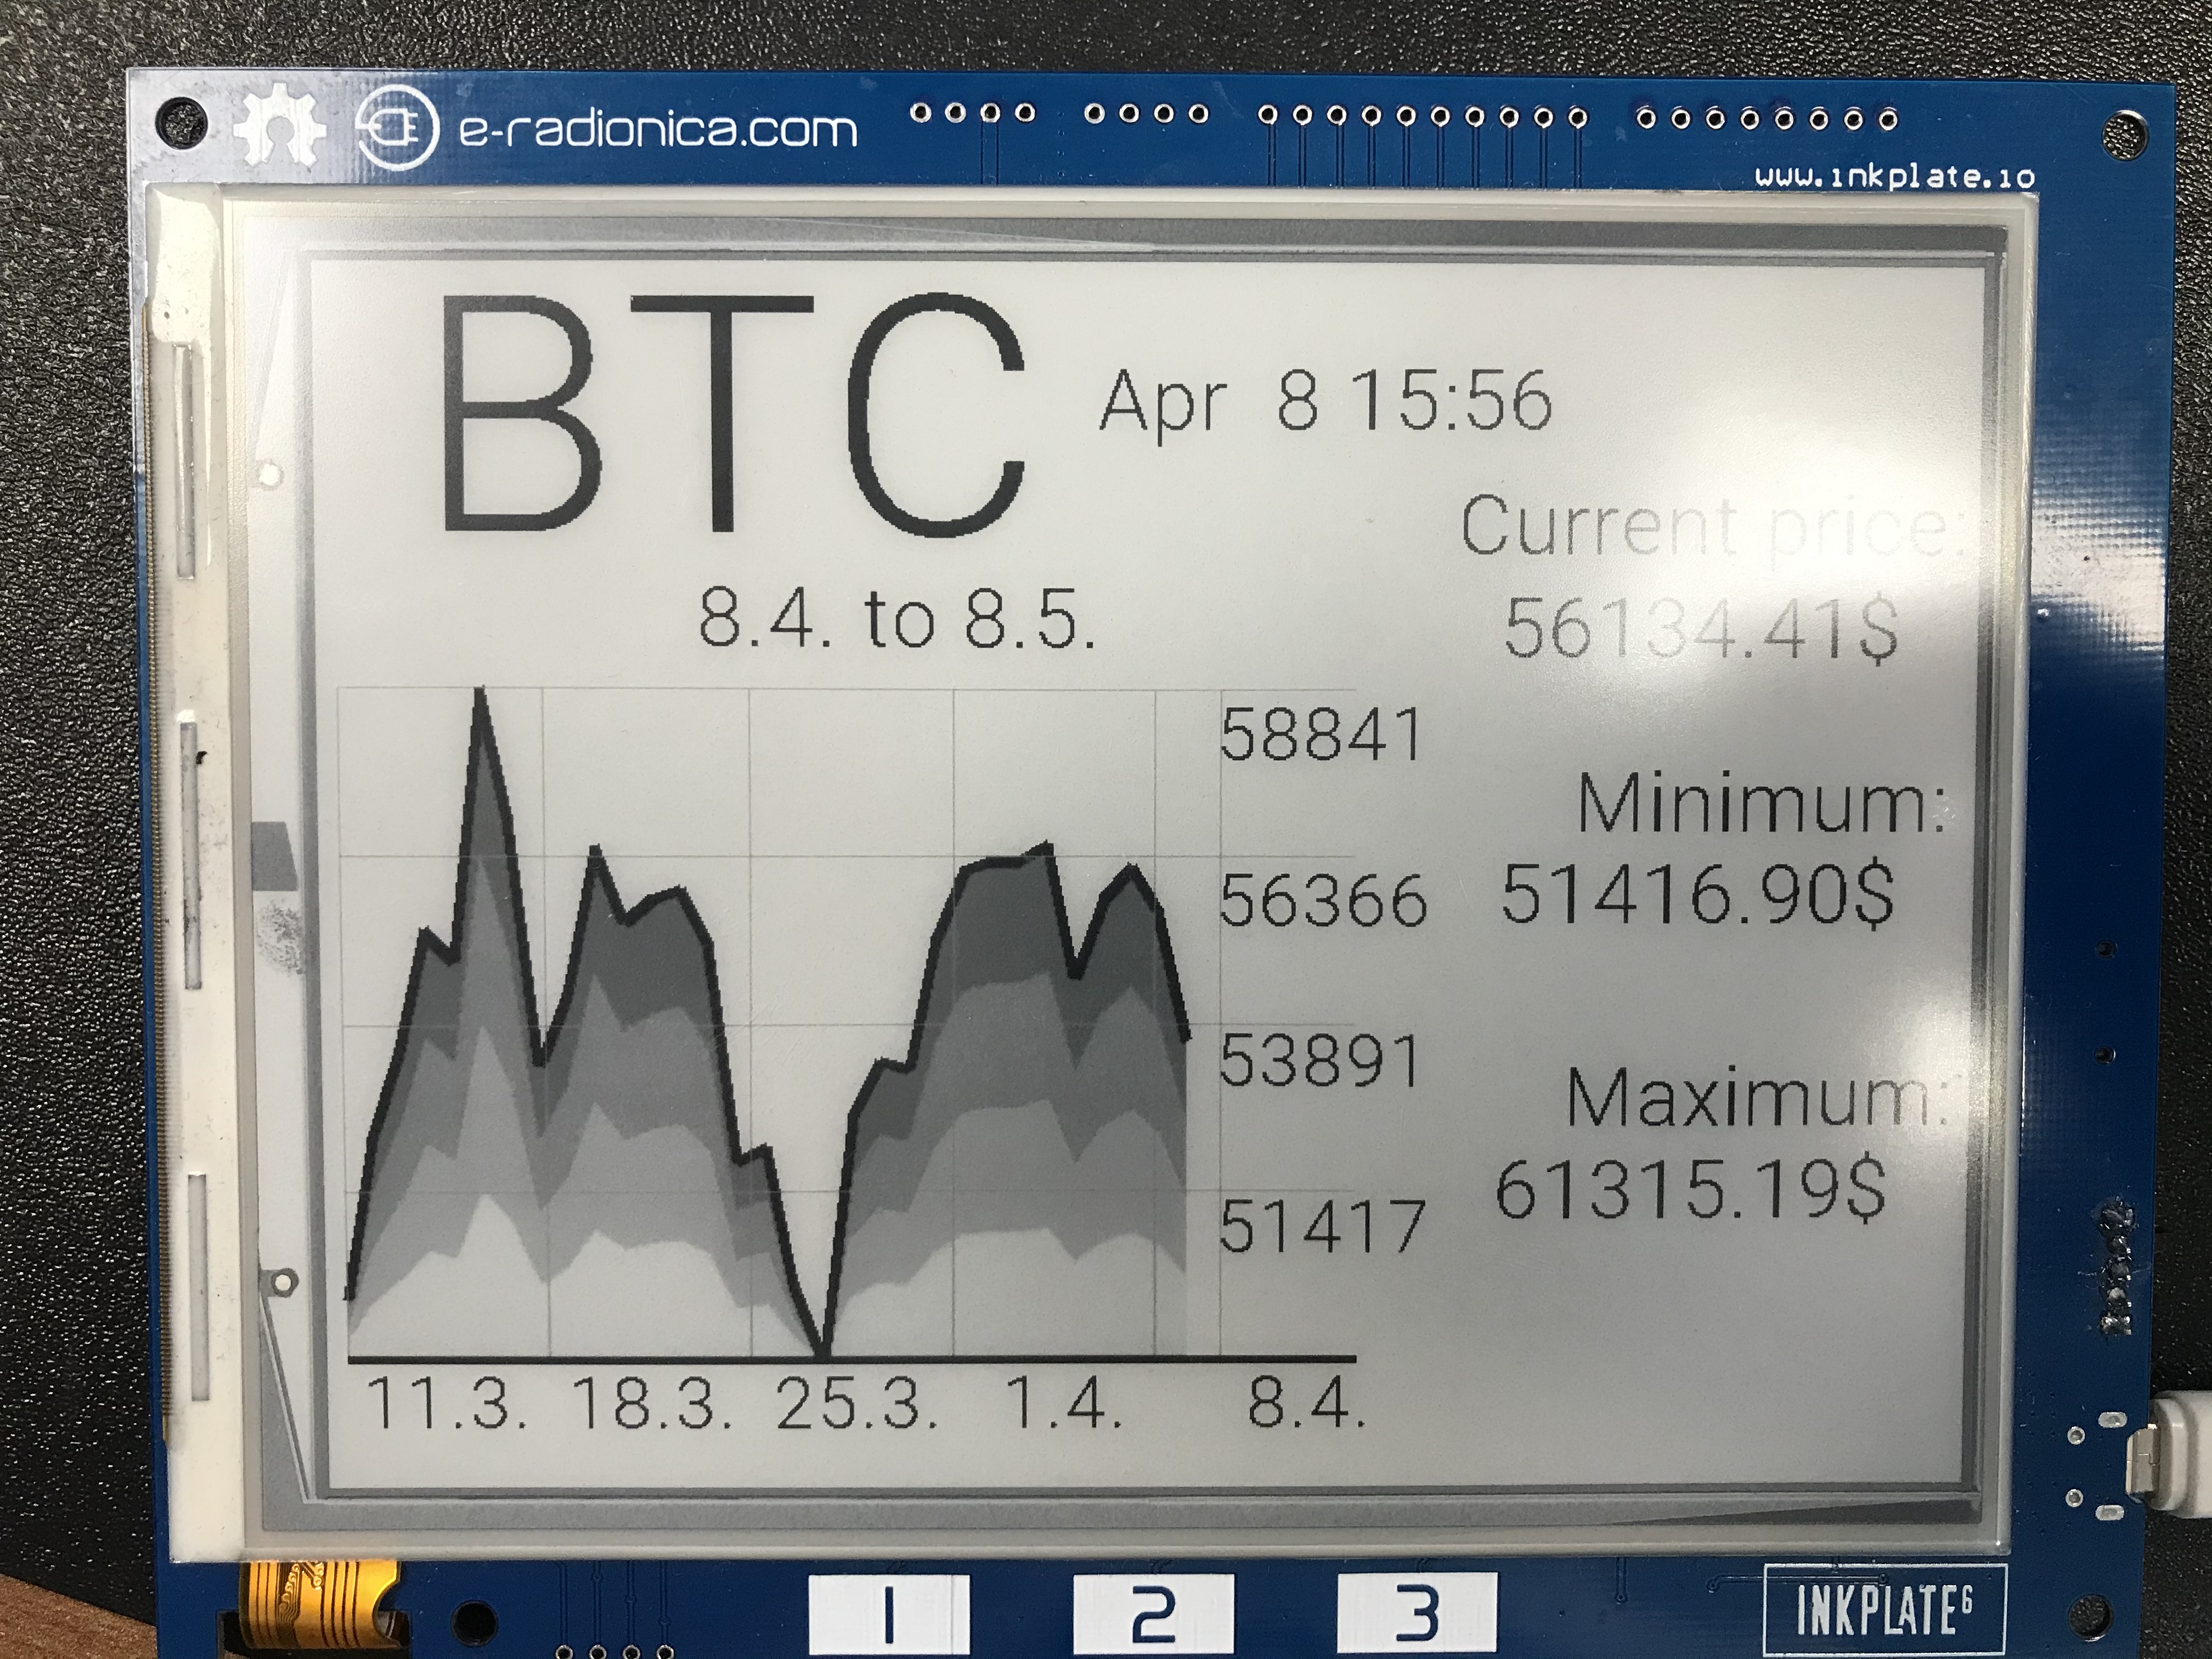
4.5.2. Cryptocurrency_Tracker
This example will show you how you can use Inkplate to display API data. Here we use Coingecko API to get last 90 days prices and display them on the Inkplate screen.
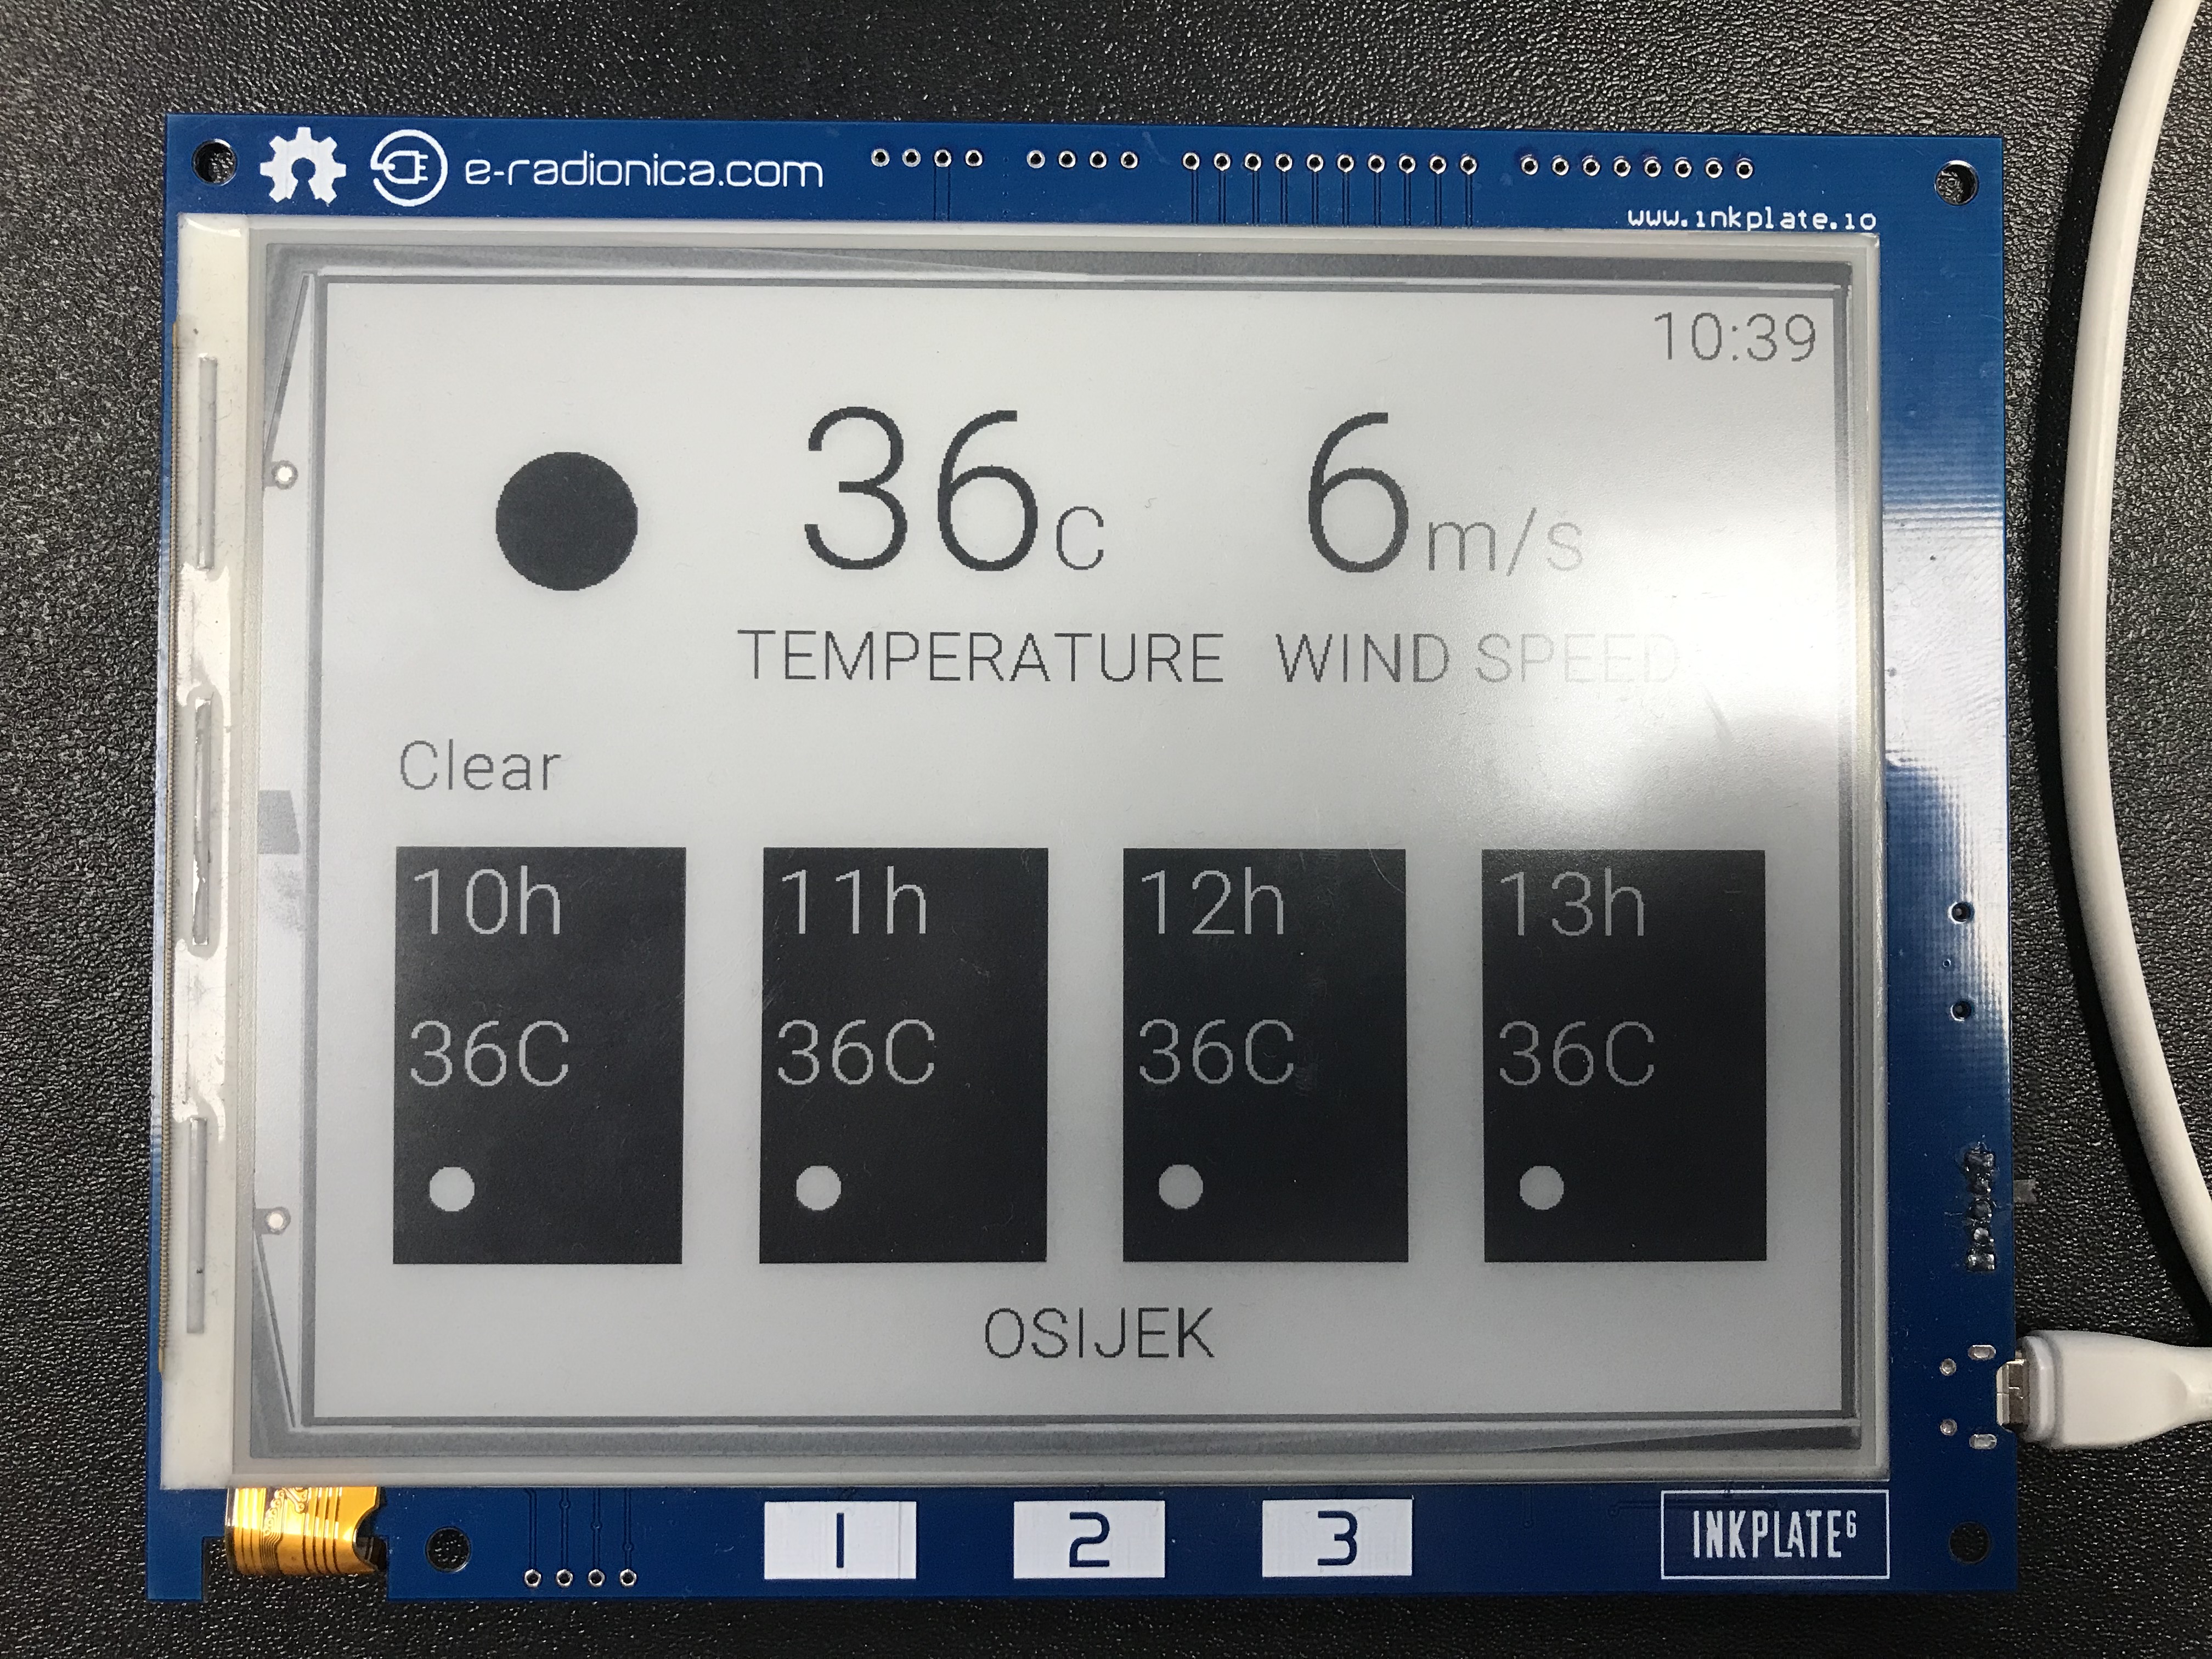
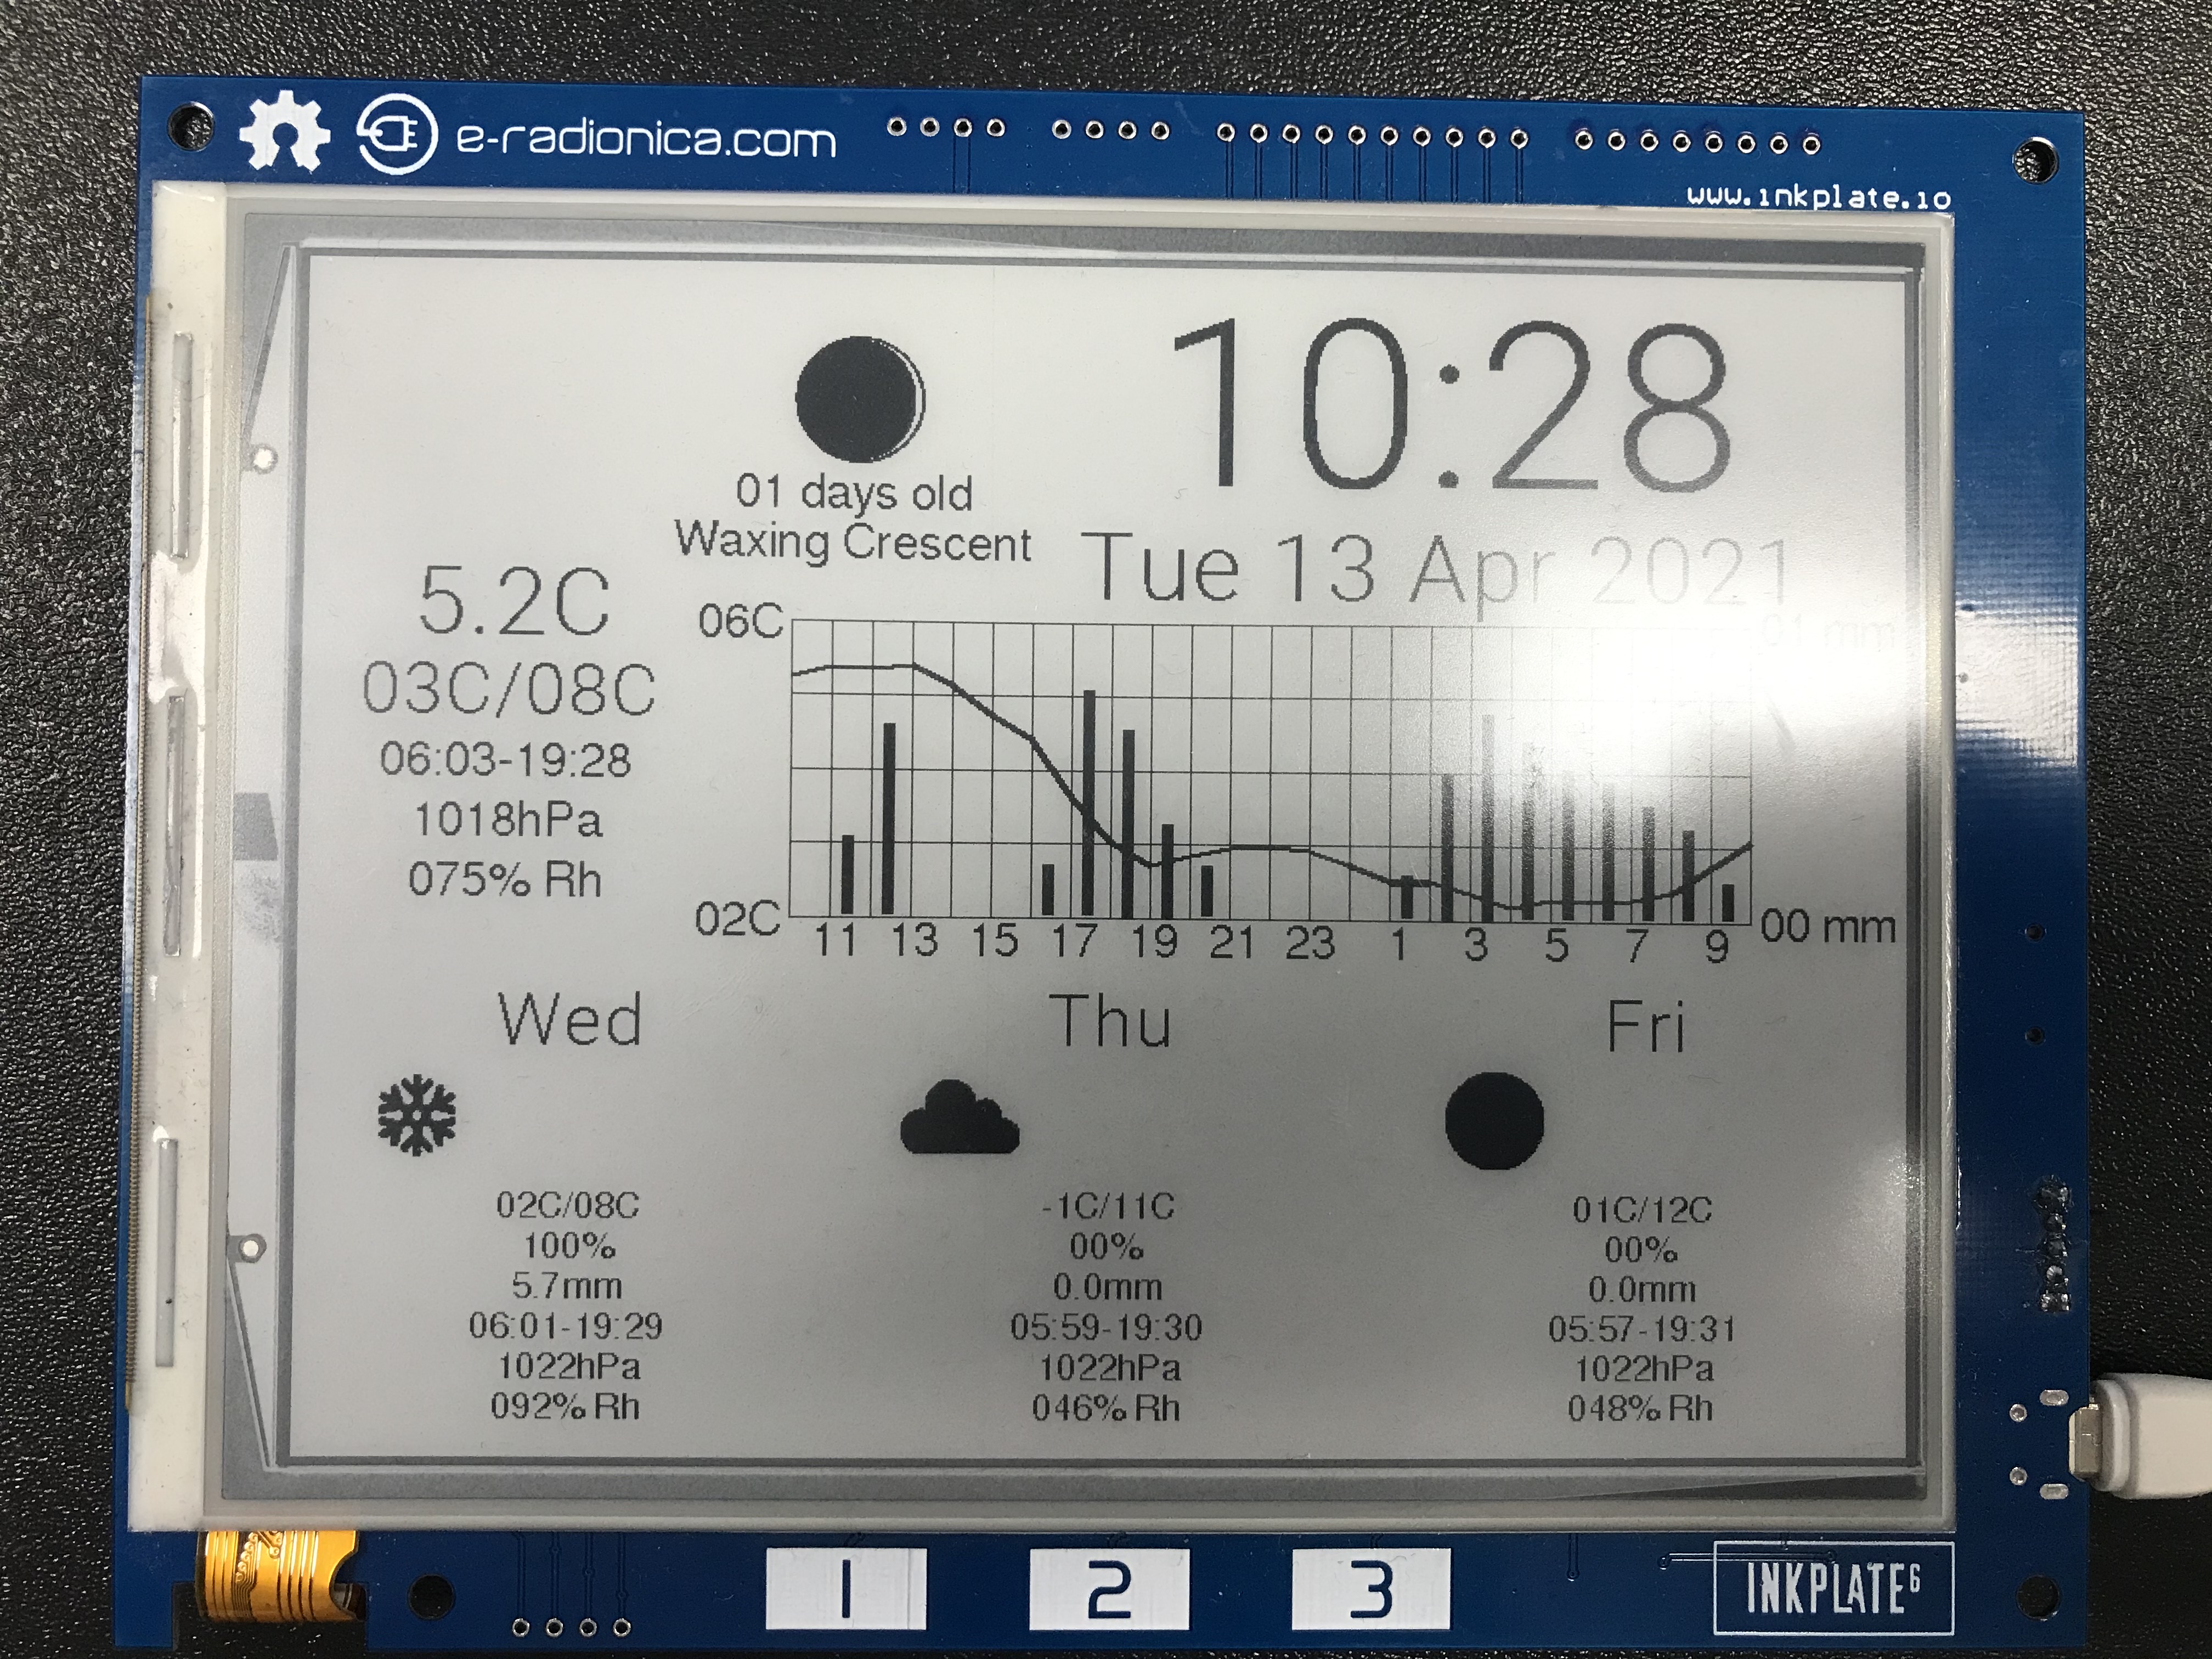
4.5.3. Daily_Weather_Station
This example will show you how you can use Inkplate to display API data, e.g. Metaweather public weather API.

4.5.4. Google_Calendar
This project shows you how Inkplate can be used to display events in your Google Calendar using their provided API.

4.5.5. Hourly_Weather_Station
This example will show you how you can use Inkplate to display API data, e.g. Metaweather public weather API, and weatherstack for real time data.
4.5.6. Image_Frame
This example shows how you can set inkplate to show random pictures from web.
4.5.7. Open_weather_station
This example will show you how you can use Inkplate to display API data, e.g. Metaweather public weather API.